Blog
InfiniteFocus G6 is an accurate, fast and universal optical 3D measuring instrument for tolerances in the μm and sub-μm range. Components are measured in an area-based, high-resolution method regardless of size, material, geometry, weight and surface finish. A range of proven and new features combine the functionalities of a roughness measuring machine (Ra, Rq, Rz/Sa, Sq, Sz) with the features of a coordinate measuring machine. Users measure form and roughness with only one
optical sensor.
InfiniteFocus G6 combines flexibility and accuracy in one optical 3D measurement system. Surface roughness and dimensional accuracy are verified with only one optical sensor. Components are measured area-based regardless of size, material, geometry, weight and surface finish. InfiniteFocus G6 features a future-proof technology mix, a unique measuring performance, a great user experience and maximum flexibility. Measurements become faster, measurement planning gets more intuitive, and the spectrum of measurable components is much wider.
dieSonne-137-599x399.jpg)
The InfiniteFocus G6 system combines 4 technologies in 1 optical sensor:
With its fast axes and innovative optics with modern algorithms, InfiniteFocus G6 delivers unprecedented speed and efficient workflows. Multiple measurement positions are approached fast and with highest precision through a simple teach-in procedure. Within a few seconds, users measure millions of 3D points (single measurement: X: 2160, Y: 2160, X x Y: 4.6 million; ImageField: up to 500 million). In comparison, tactile systems can only detect some measurement points in the same amount of time.
dieSonne-128-599x399.jpg)
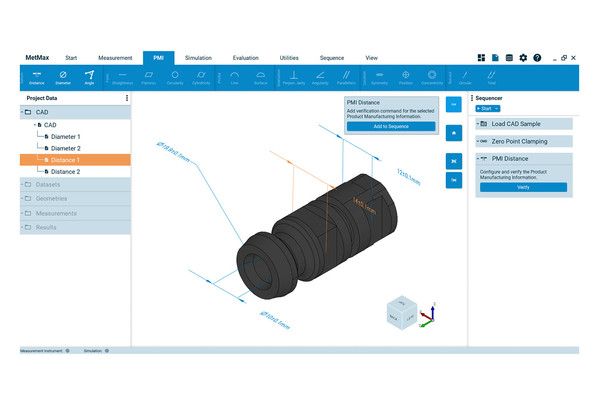
With InfiniteFocus G6, you benefit from easy operation and time saving based on the software platform MetMaX. Users specify measurements virtually in the CAD model of a component, and a Digital Twin combined with a virtual measurement simulation ensures the safe operation of the measuring instrument. If a measurement is completed or an error occurs, users will receive a notification on their cell phone. This allows users to concentrate on more important things, such as the interpretation of measurement results.
No matter what component or surface, with InfiniteFocus G6 you have one system ready to measure all parts. Thanks Advanced Focus-Variation users measure components with steep flanks, varying reflections and structured roughness. The technology ensures high-resolution measurements of smooth, reflective and highly polished surfaces.
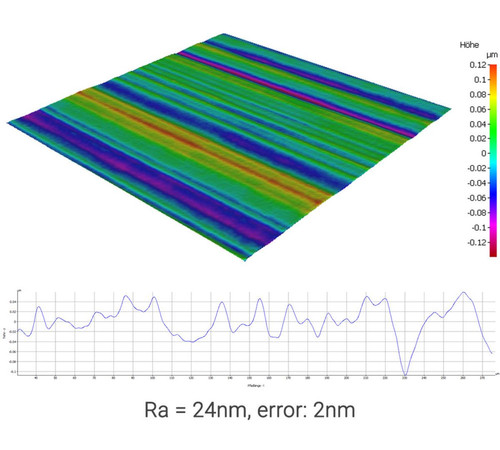
Thanks to Advanced Focus-Variation, users measure workpieces with steep flanks, varying reflections and structured roughness. The technology ensures high-resolution measurements of smooth, reflective and highly polished surfaces.
With the new InfiniteFocus G6, you get a high-tech optical measuring system in a simple-to-use package. The heart of InfiniteFocus G6 is the sensor that measures the 3D data. A motorized turret with different objectives enables different measurement fields and different resolutions. The InfiniteFocus G6 features a motorized 3 axis system using high precision linear encoders with low thermal expansion and linear motor in all 3 axis. This means very low maintenance. Two additional axis allow to rotate and tilt the component in all directions to access all features.
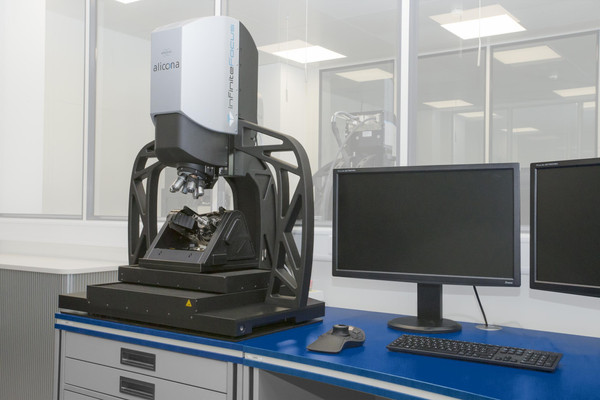
The InfiniteFocus G6 enables the measurement of GD&T and roughness parameters on the entire measured object. Users who need to measure geometries that are difficult or otherwise impossible to access benefit from the system’s 5-axes metrology. Due to the large measurement volume (200 mm x 200 mm x 180 mm = 7 200 000 mm³), components of any size or weight can be measured.
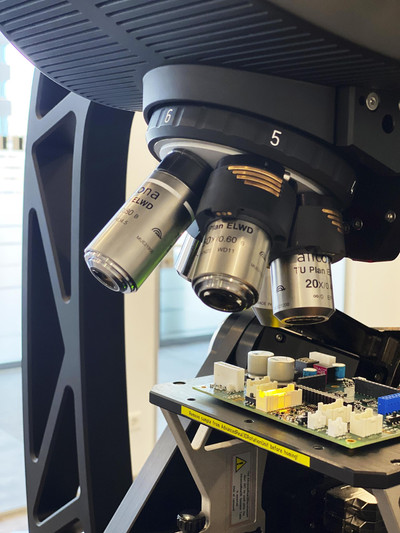
Thanks to its architecture, the measurement system offers
high flexibility for operators. InfiniteFocus measures a wide
range of components with only one sensor.
Bruker Alicona systems are in general ready for automation, and so is InfiniteFocus G6. Single-button solutions and automated measurement sequences offer maximum speed and efficient workflows. Measurements are possible without any user interaction.
For example, with the Pick & Place automation solution, users can extent InfiniteFocus G6 with a robot arm to automatically pick, place, measure and sort components.
Due to the robust Focus-Variation technology and the vibration-insensitive design, InfiniteFocus G6 is ideal for your shop floor. Users receive repeatable results in high resolution, even directly next to the manufacturing machine. Furthermore, modern manufacturing strategies benefit from the automation solutions offered and the system’s interconnectivity with production machine, IT-systems and integrated closed-loop processes.
Thanks to the Vertical Focus Probing technology, InfiniteFocus G6 is not only capable of lateral probing, but also of measuring even micro holes like, e.g., cooling holes of turbine plates (500 µm diameters) or injection nozzles (120 µm).
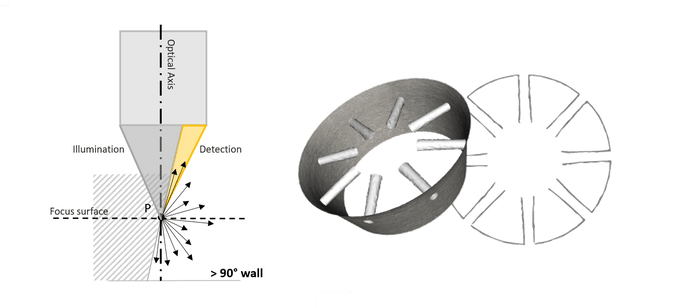
Left: Reflected light can also be detected through the lens if the slope is steeper than 90°.
Right: Measurement of injection nozzles