5 reasons why it has to be optical 3D measurement
In the production of precision dies, you are confronted with very special challenges: The number of strokes, the shape fidelity, the position of the die.... As a technician, how can you guarantee the accuracy of your products and increase productivity at the same time?


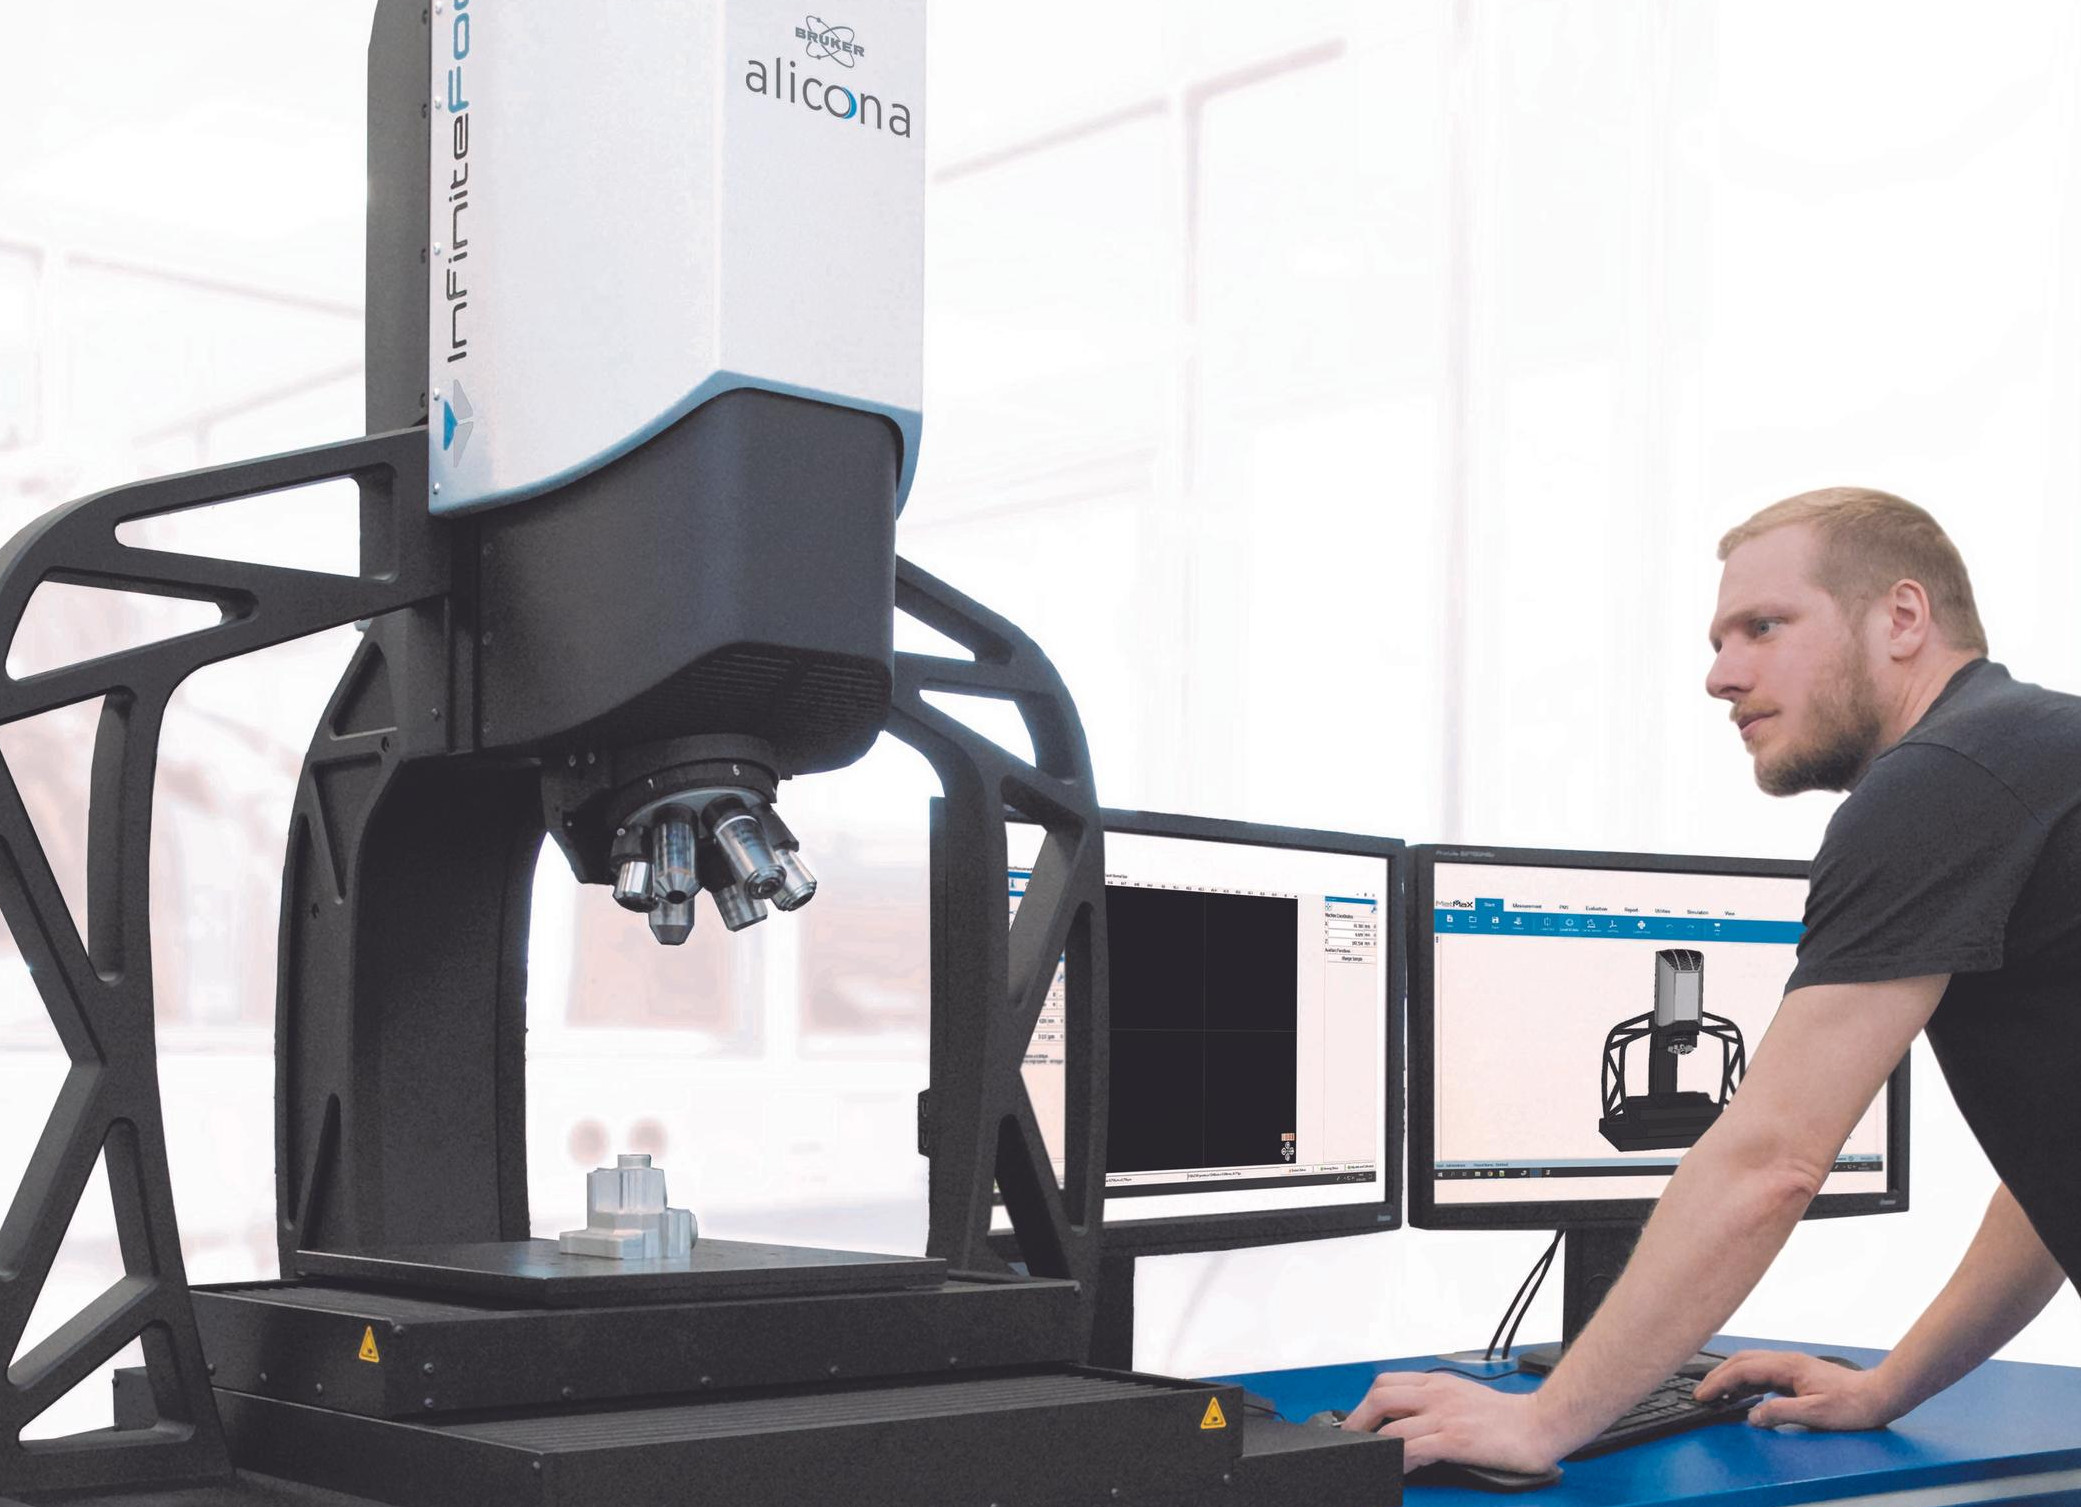
Bruker Alicona's measuring systems are used in the automotive industry, in aerospace, in medical technology, in electronics and in toolmaking. And especially when it comes to punching, bending and forming the smallest parts, the tolerances are in the µm range. So shouldn't precision dies also be subject to constant quality control? Yes, they should. Here are five of the most essential reasons why the use of measuring equipment for quality assurance plays a special role, especially in the production of micro-precision components.
Find out how to increase the productivity of your precision dies
The industry of precision dies is characterized by high quantities, which at the same time place enormous demands on quality. Of course, accuracy is not negligible in other areas, such as prototyping. But the high number of strokes of the tools in the production of micro-precision components entails an enormous risk: inaccuracies that creep in during the process render entire batches of products unusable. By measuring dimensional accuracy at an early stage, faulty production of parts can be intercepted before installation. That way, your production runs like clockwork.
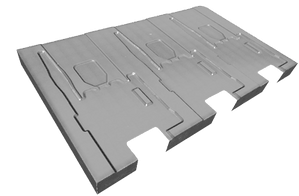
Increasingly complex shapes of precision dies require high point density and axis accuracy in metrology.
Exact bending angles, precise embossing depths, tight embossing tolerances and high repeatability are self-evident demands on the tools. On the other hand, component geometries are becoming increasingly complex. At the same time, ever faster processes and greater cost-effectiveness are demanded of you. Inaccuracies have no place in your production mold. And to eradicate them, you need precision measurements that ensure that all production steps are perfectly coordinated.
We chose a Bruker Alicona coordinate measuring machine because of the accuracy required by our customers. The high point density and axis accuracy are clear advantages for referencing
Very high demands are placed on the punches in terms of dimensional accuracy, shaping and surface quality. In order to ensure smooth replacement of the dies while maintaining the quality of the components, precision measurement is essential. In addition, a consistent quality of the dies must be ensured when they are produced on several injection molding machines.
The quality of your products is indisputable. Most of the time, at least. And for those cases where the quality class of the precision dies you manufacture is doubted, the measurement serves as the best proof. Your stamp becomes a seal of quality. The measured values become a certificate. And one more thing: Measured stamping dies can accurately represent the entire production chain of the end product.
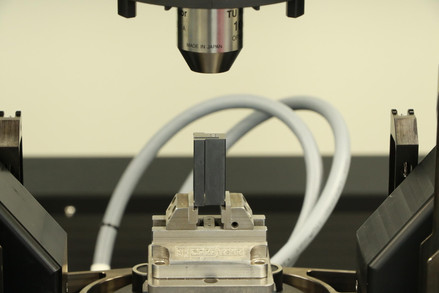
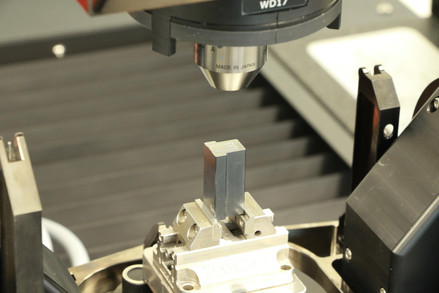
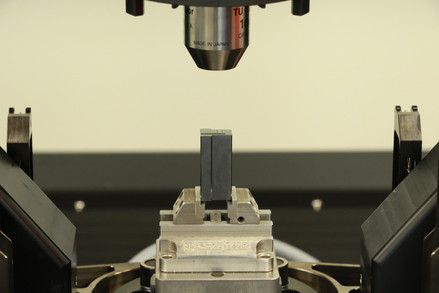
High-quality and intelligent tools are a major, if not the major, success factor for your precision dies manufacturing. Your competitive advantage is cost optimization, reduction of material usage and fast production of high volumes. In addition, the use of optical measuring devices promotes process-safe manufacturing and the highest level of precision.
For us, the µCMM is the ideal solution in many respects. It offers high accuracy, even for tolerances in the single-digit µ range. We also benefit from efficient user guidance - the µCMM is designed to be operated by multiple users. In addition, we experience a noticeable reduction in measurement times.
Bruker Alicona measuring instruments meet maximum quality standards to give your manufacturing the decisive boost in productivity. They enable the highest accuracy, areal measurements and a Smart User Experience with intelligent measurement plan. Feel free to contact us to discuss your production flow and find the right solution to increase productivity.
