Your component is only as good as the quality control you can carry out on it. But how can you be sure that your measurement results are accurate enough? We have collected nine simple tips that will give you a real accuracy boost. Simple and incredibly effective.
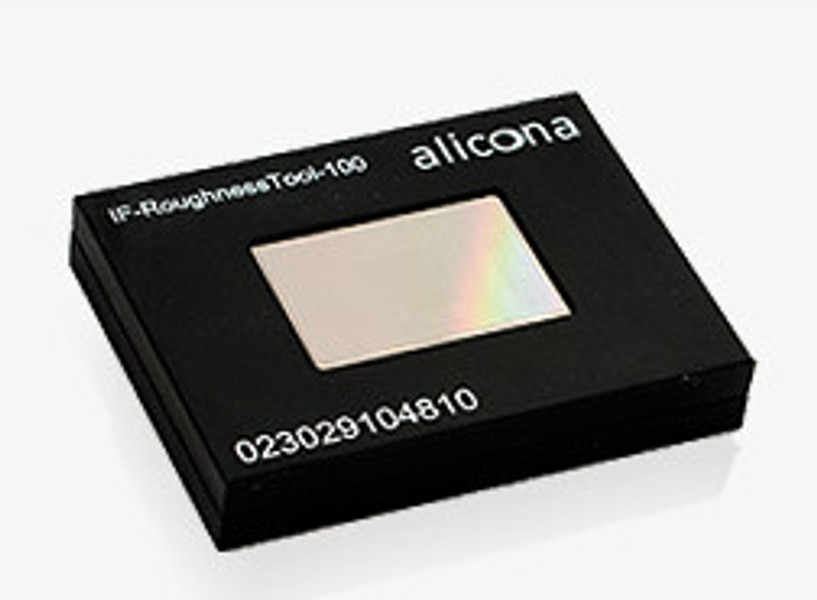
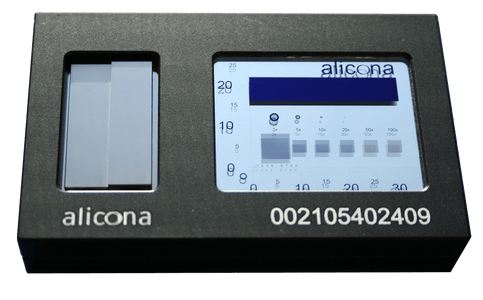
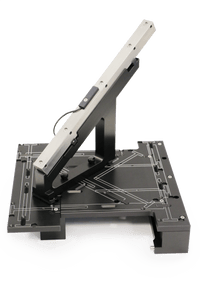
We all just assume that the compass points north. That's its job, so we take it for granted. We expect devices to do exactly what they are designed to do. However, especially in quality assurance, you have to be able to prove that a measured µ really is a µ. There is no room for blind trust. And it is not even necessary. National and international bodies help us to ensure that our measuring devices work accurately. They ensure that the measured results are traceable. To guarantee this traceability, measuring devices - regardless of their type - must be calibrated regularly. Calibration is a process to determine the inaccuracy of the measuring instrument. This is done using calibration tools. At Bruker Alicona, different calibration tools are used depending on the measurement task. In the best-case scenario, the calibration proves that the compass is actually pointing north. But what if not? Then it's time for an adjustment. Adjustment refers to the adaptation work on the measuring device in order to minimize the deviations between the measurement and the calibration specifications. In other words: during the adjustment, the compass is aligned as precisely as possible to the north. You can find out below how to carry out your regular calibration easily.

Bruker Alicona Roughness Calibration Tool

Infinite Focus Calibration Tool

Ballbar Calibration Tool for the µCMM
We assume that you have done extensive research when deciding on your measuring devices and have then chosen the right system. Some of Bruker Alicona's measuring devices are specialized for one application, such as the EdgeMasterX for cutting edge measurement. Others are ideal for a wide range of applications. A measuring system is always a complex combination of hardware and software components that can significantly influence the success of your quality assurance. It is also important that the measuring device fits into your environment. Do you measure directly in production or a separate laboratory? What are the conditions? The thermal and mechanical stability as well as the vibration resistance of the measuring devices vary. If you take these influencing factors into account when making your choice, you will get the highest possible accuracy!
Correct clamping is closely linked to the human factor. You will not find two measurement technicians who clamp the same sample in the exact same way. The devices of the Bruker Alicona measuring instruments help to eliminate this uncertainty factor in many ways. These range from simple sample tables with special sample holders for tools to rotation and tilting units to align the sample during the measuring process. Customized solutions are also available. The following three points are important when clamping:
a. All measuring positions must be easily accessible.
b. The sample must be well fixed. If it can still move, an accurate measurement is not possible.
c. The sample must not be damaged by clamping.
Tip: For certain applications, Bruker Alicona offers automation that eliminates the "clamping" inaccuracy factor. One example is the Round Tool Alignment, in which the measuring device aligns the round tool completely automatically according to the CAD.
Let’s find out together whether and how such automation is possible for your application.
Bruker Alicona measuring devices are equipped with a variety of measuring technologies that are suitable for different measuring tasks. The measuring principle may not have a direct influence on accuracy, but it does have a significant impact on efficiency and measurement time, which in turn has an indirect effect on accuracy. Although you will find an overview of the technologies available here, you do not have to decide on your own. The Bruker Alicona application team is there to help you find the right technology for your application. Why should you have to work your way through Advanced Focus-Variation, Vertical Focus Probing and Real3D if you simply want to see your measurement task solved?
Tip: Let the axes rest! If you want one single tip on the right measuring strategy, we will limit ourselves to the following truism: The fewer axes are moved, the less influence they have on accuracy. So if there is one thing you need to consider when selecting the right technology for your measuring task, it is the axes to be moved: Does the component need to be tilted or is it sufficient to simply rotate it, for example?
As we have already mentioned when choosing the right measuring device, the environment plays a not insignificant role in terms of accuracy. As a rule, measuring systems have different specifications under certain influences. These influences mainly concern the temperature and vibration in the environment. In general, Bruker Alicona measuring devices are very robust against the effects of temperature and vibration. Even in direct comparison with the competition. The systems are designed for use both in the laboratory and directly in production. The Bruker Alicona µCMM, the coordinate measuring machine, for example, stands on a granite construction that compensates for vibrations and temperature deviations. An integrated temperature control system and active temperature compensation of the components also help to keep the measurements stable and accurate.
The focus in measurement technology should be on what needs to be measured and not how. This is the only way the user can concentrate on the measurement tasks, while the measurement technology company focuses on the how. Even if Bruker Alicona devices are already equipped with a good portion of automation options, the human factor must not be ignored. So what does an operator need to know to avoid influencing accuracy?
a. The technical drawing should be clear, as should the relevant standards.
b. The parameters and deviation tolerances from the drawing must be identified.
c. The application of the technical drawing to the sample to be measured
Good training naturally helps operators handle the measuring device with confidence, and instructions are there to be read.
One of the special features of Bruker Alicona's technologies is that the devices can also measure smooth and even reflective surfaces. However, different lighting is required for different conditions in order to achieve an accurate result. In addition to the material of the component, these reflective properties or possible shadows also play a role. Select the lighting accordingly.
Just as we all assume that a compass always points north, we also assume that tried-and-tested quality assurance delivers exactly what we need. But at some point we have to admit that high-precision components in particular cannot be measured with sufficient accuracy by tactile means. Components are getting smaller and smaller, but the expected functionality is getting higher and higher. Often, valleys are so narrow that tactile measurement technologies are out of the question or deliver irrelevant results. In addition, area measurements, which are useful for many surface textures, cannot be implemented. This is why optical measurement technology is gaining ground in micro-precision for good reason. But its advantages are by no means limited to this industry. The changeover is not as difficult as often assumed and you can gain a significant competitive advantage in terms of accuracy.
You have already read all about calibration and adjustment. The Bruker Alicona service staff will help you to evaluate and restore the accuracy of the devices. The easiest way to guarantee the constantly highest accuracy is through a service contract. This includes up to two annual software updates and an on-site service appointment to adjust the devices. Of course, service appointments for your systems can also be arranged without a contract. In both cases, please contact us directly with your request.
With these 9 dos and don'ts, you can easily improve the accuracy of your measurements. If you are still lacking background knowledge, download our Accuracy Booklet now. Here you will find explanations of terms, formulas, and definitions as well as best practice examples.