How to understand and control tool wear
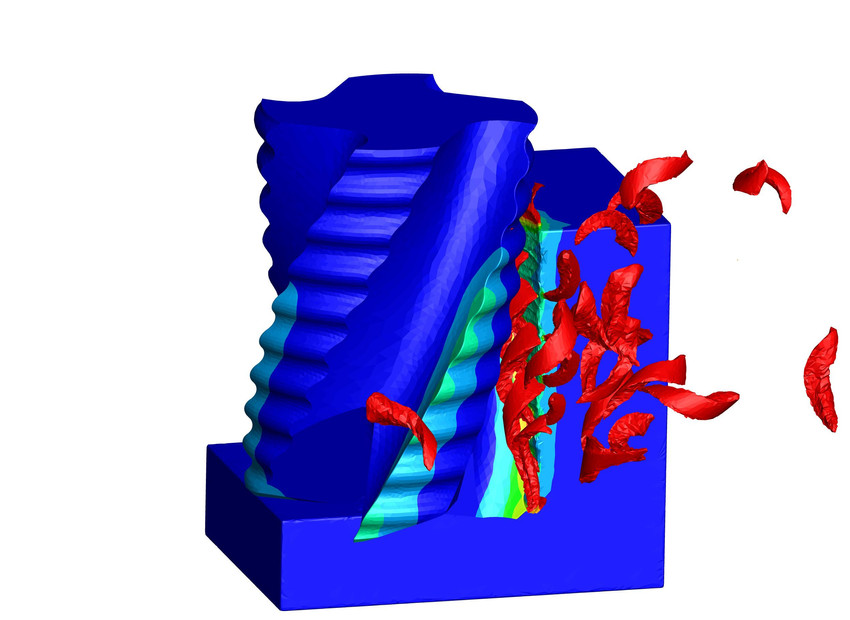
Tool wear prediction using material physics-based modeling is one of the goals of Third Wave Systems (TWS). The research and development team at TWS is implementing tool wear models into their physics-based machining modeling software to empower their customers to understand and control tool wear and create better quality machined parts. In this effort, the InfiniteFocusG5 universal optical 3D measuring instrument from Bruker Alicona is used to validate tool wear.

Tyler Roth
Lead R&D Engineer at Third Wave Systems
The accuracy and ease-of-use of InfiniteFocus and tool wear analysis module have enabled us to rapidly test and validate our tool wear modeling capability in a way that was nearly impossible before.
READ THE ENTIRE SUCCESS STORY
Validated modeling technology
Third Wave Systems is a Computer-Aided Engineering (CAE) provider for companies that machine. Their modeling products and services are used by progressive companies to reduce costs of machined components, accelerate design cycles, improve part quality, and get to market faster. "TWS’ experimentally validated material modeling technology, coupled with advanced Explicit-Dynamic Finite Element Analysis (FEA), gives engineers and other users vastly more information than trial-and-error testing alone; enabling these engineers to make better decisions”, says Tyler Roth, Lead R&D Engineer at TWS. By using an InfiniteFocusG5 universal optical 3D measuring instrument from Bruker Alicona, TWS is not only extending their validation capability, but they also empower the development and validation of better, more accurate models to bring more value to TWS’ customers.
InfiniteFocusG5 is a highly accurate, fast and flexible optical 3D measurement system, combining a 3D micro coordinate measurement machine and a surface roughness measurement device. The range of measurable surfaces is almost unlimited. With only one multifunctional sensor users achieve traceable measurement results with high repeatability and a vertical resolution of up to 10nm.
Tyler Roth: "Our projects require detailed modeling of cutting tool geometries. After having used more basic microscopes to collect the data or having worked with outside vendors to get the information needed, we wanted to bring this expertise inhouse. We were looking for a system that would give us a much better accuracy and that was capable of providing the level of details we needed to support our engineering needs.”
This is something Mr. Nishant Sahini said in the old questionnaire my predecessor did with him – it can be the base for your quote here to say why TWS chose the Bruker Alicona InfiniteFocusG5. Please let me know if and how you would like to have it changed.
How TWS succeeds with Bruker Alicona solution

InfiniteFocus
Dimensional accuracy & surface finish measurement
- Accurate, fast and universal optical 3D measuring instrument for tolerances in the µm and sub-µm range
- Components are measured area-based and with high resolution independent of size, material, geometry, weight and surface finish
- A number of proven and new features combine the functionalities of a roughness measuring system (Ra, Rq, Rz/Sa, Sq, Sz) with the characteristics of a coordinate measuring machine


