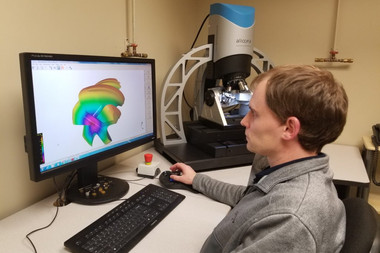
Optical surface roughness measuring device for smooth surfaces
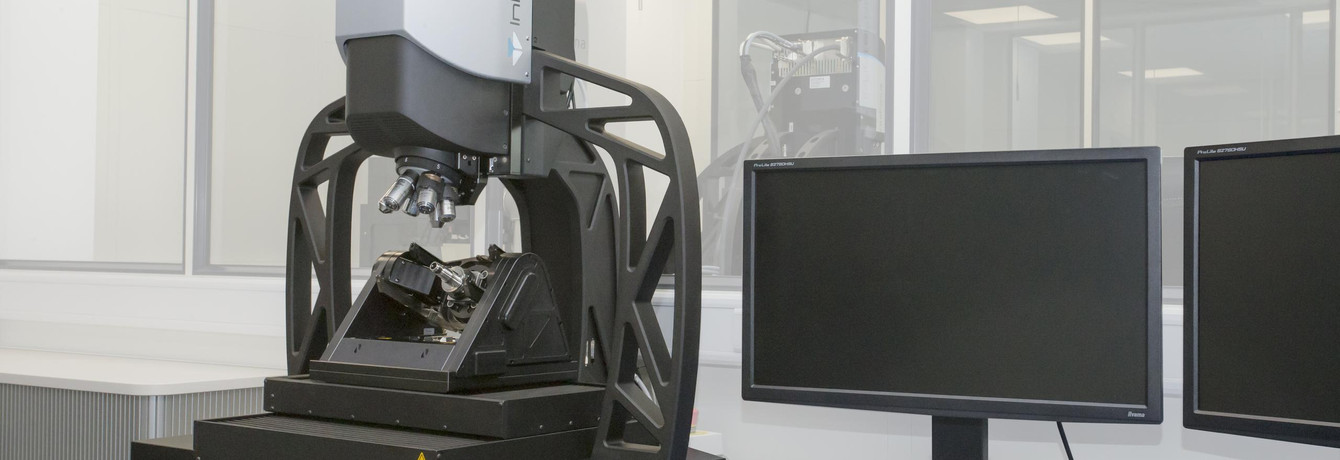
InfiniteFocus G6 is an accurate, fast and universal optical 3D measuring device designed for optical surface roughness measurement & shape measurement, particularly for smooth and highly polished surfaces. Operating within the µm and sub-µm range, this device provides precise results regardless of component size, material, geometry, weight, or surface finish, all accomplished with only one optical sensor.

Highlights of the surface measuring device InfiniteFocus G6
What else is possible with this optical measuring device
Technical specifications
| Measurement Principle | Non-contact, optical, three-dimensional; Technologies: Advanced Focus-Variation, Vertical Focus Probing, Real3D |
| Positioning volume (X x Y x Z) | 200 mm x 200 mm x 180 mm = 7 200 000 mm³ |
| Positioning volume (R x T) | AdvancedReal3DUnit (optional): Motorized rotation: 360° / Motorized tilt: - 15° to + 90° |
| Objective name | 1900 WD30 | 800 WD37 | 800 WD17 | 400 WD30 | 400 WD19 | 150 WD11 | 80 WD4 | ||
| Working distance | mm | 30 | 37 | 17.5 | 30 | 19 | 11 | 4.5 | |
| Lateral measurement range (X,Y) | mm | 3.8 | 1.6 | 1.6 | 0.8 | 0.8 | 0.3 | 0.16 | |
| Measurement point distance | µm | 1.77 | 0.72 | 0.72 | 0.36 | 0.36 | 0.14 | 0.07 | |
| Measurement noise | nm | 80 | 40 | 15 | 20 | 5 | 2 | 1 | |
| Vertical resolution | nm | 250 | 130 | 50 | 80 | 30 | 15 | 10 |
| Objective name | 1900 WD30 | 800 WD37 | 800 WD17 | 400 WD30 | 400 WD19 | 150 WD11 | 80 WD4 | ||
| Min. measurable roughness (Ra) | µm | n.a. | 0.7 | 0.18 | 0.24 | 0.12 | 0.05 | 0.03 | |
| Min. measurable roughness (Sa) | µm | n.a. | 0.35 | 0.09 | 0.12 | 0.06 | 0.025 | 0.015 | |
| Min. measurable radius | µm | 12 | 5 | 5 | 3 | 3 | 2 | 1 |
Shape & roughness measurement examples with InfiniteFocus G6
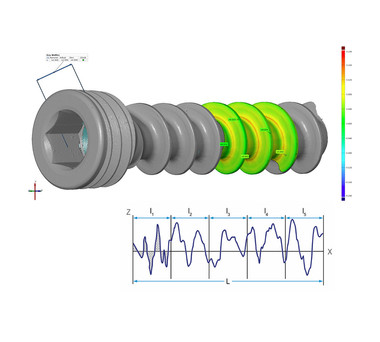
Bone screw measurement with roughness profile
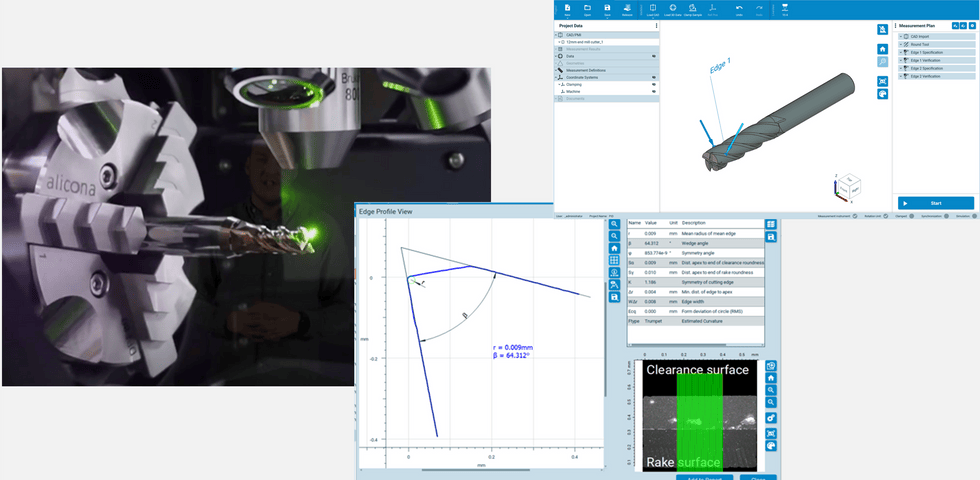
The Real3D technology empowers users to capture comprehensive form/shape measurements of components in a full 360° view. Here, a direct comparison to the respective CAD data set is shown. Plus, measure surface roughness for comprehensive insights.
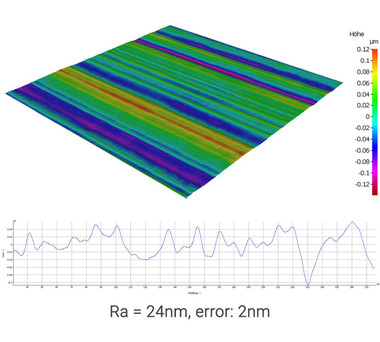
Smooth surfaces
Thanks to Advanced Focus-Variation, users measure workpieces with steep flanks, varying reflections and structured roughness. The technology ensures high-resolution measurements of smooth, reflective and highly polished surfaces.

dieSonne-137-980x480.jpg)


