What is Focus Probing?
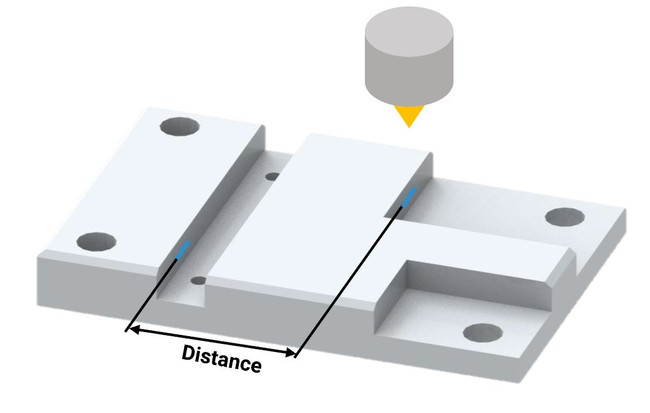
The Focus Probing technology enables users for the first time to measure single 3D points and 3D contours very fast without the need for vertical scanning. It allows to measure metrically correct 3D points and contours from sensor data at a single position. 3D contours and points obtained with Focus Probing can be used for a variety of applications including the fast measurement of features, such as distances and diameters, or for the alignment of a sample with a CAD dataset. Traditional methods for measuring 3D datasets, such as Advanced Focus Variation and Vertical Focus Probing, deliver an area based 3D dataset and take both more time due to scanning at the z axis.

How does Focus Probing work?

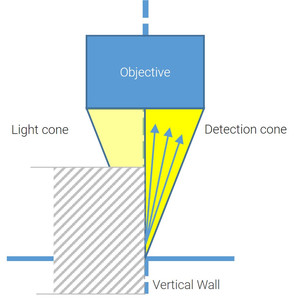
The measurement principle of the new method Focus Probing is very similar to the Vertical Focus Probing technology with the difference, that no vertical scanning is involved, but that 3D information is obtained from the sensor data at a single position. As with Vertical Focus Probing, Focus Probing also allows the measurement of contours at vertical walls, with the extension, that also multiple 3D contours can be measured within one field of view at once.
Measurement example:
Hole distance measurement
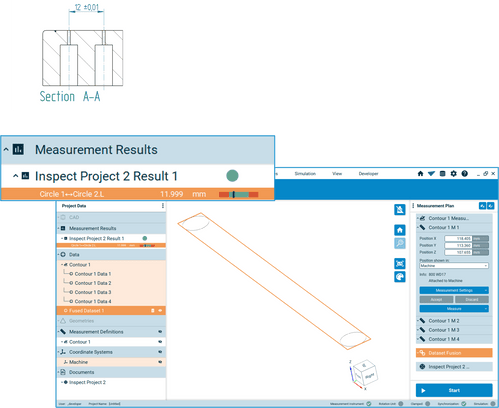
An example application is the fast distance measurement between two laser drilled holes. The contours of these two holes were measured with Focus Probing. The contour datasets are automatically aligned in the 3D coordinate system to perform a quick distance measurement between the two hole centers.
The advantage of Focus Probing is the fast processing time. With Focus Probing it is possible to gather high accurate 2D contours in a 3D coordinate system. Due to the efficient way of data capturing measurement time and processing times decrease heavily. This leads to faster measurements of contour based applications.


