Optical coordinate measuring machine for small surface details on large components
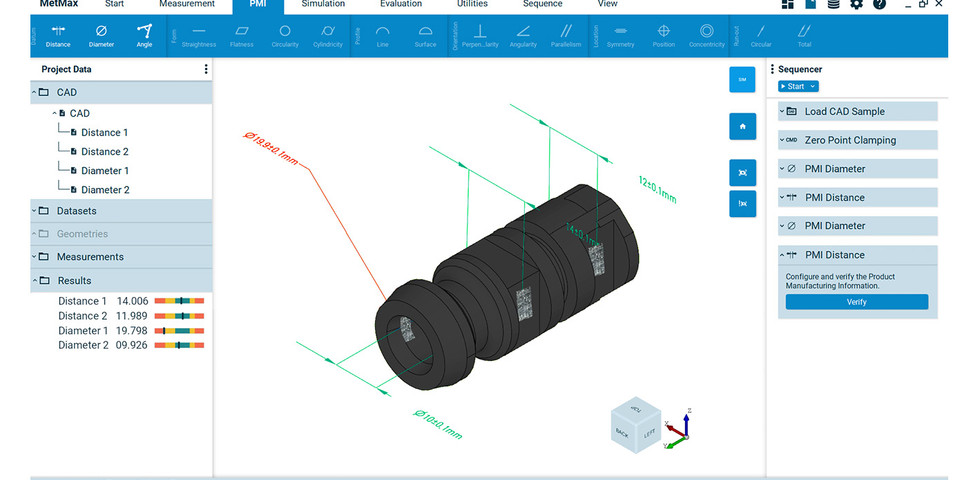
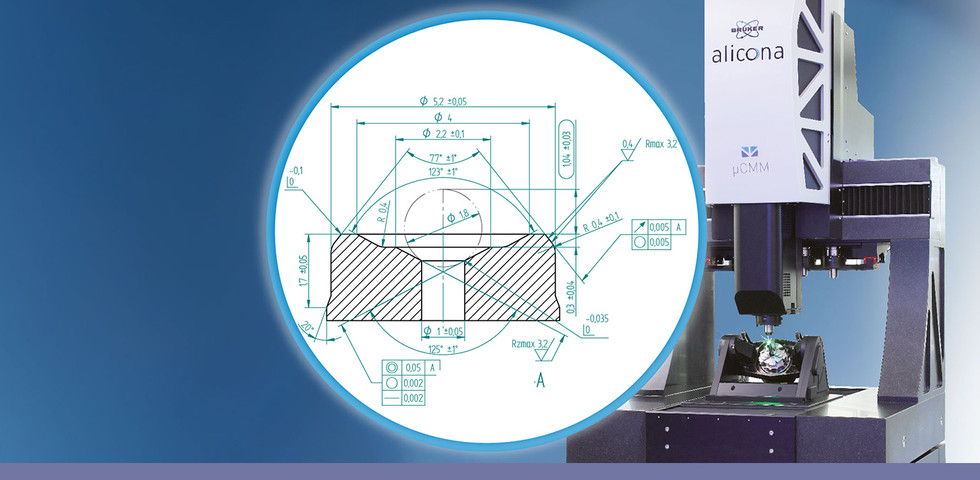
µCMM, the first purely optical coordinate measuring machine (cmm machine), is used to measure extremely tight tolerances in high accuracy. Users combine advantages from tactile coordinate measuring technology and optical surface metrology:
- measurement of dimension, position, shape and roughness with only one sensor
- high accuracy over the entire measurement volume
- non-contact, optical coordinate measurement with Focus-Variation
- suitable for matte to highly polished components
- easy handling
- wear-free, robust and suitable for production


Highlights of the coordinate measuring machine µCMM
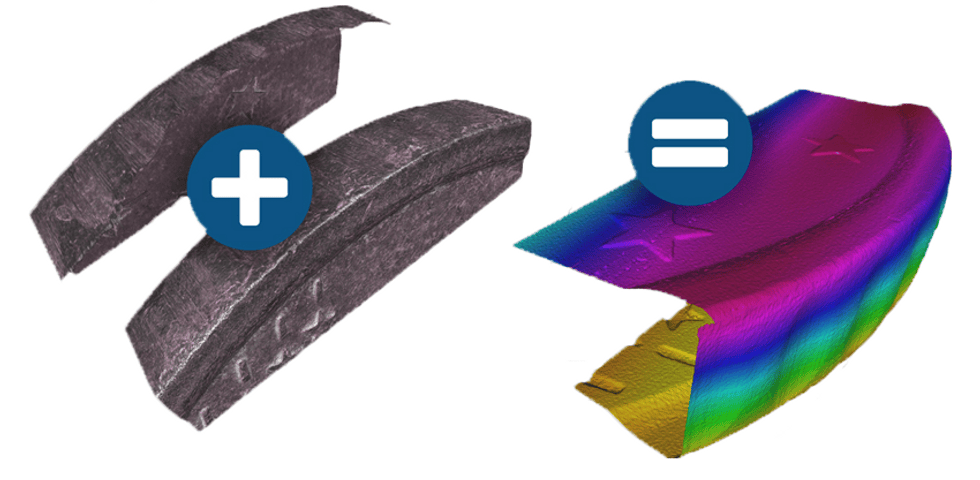
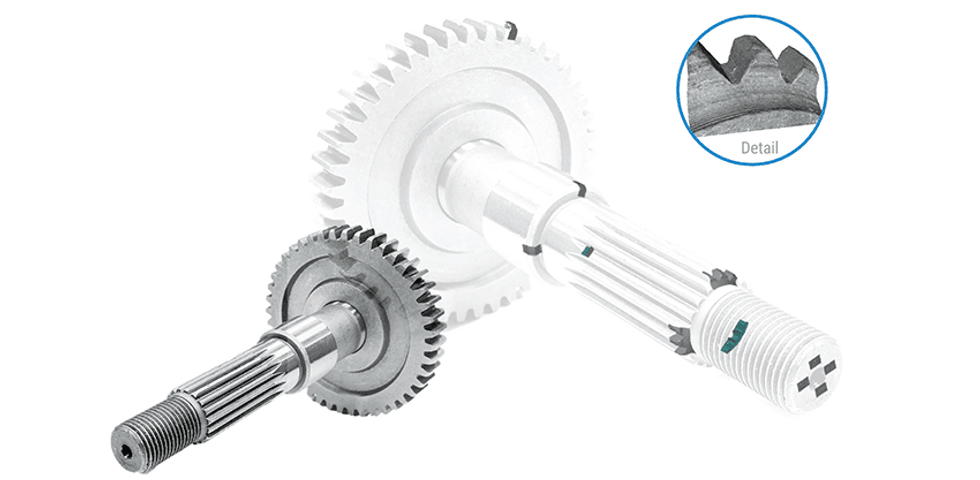
More than just optical coordinate measurement - what else is possible with µCMM
Technical specifications
| Measurement principle | non-contact, optical, three-dimensional, based on Focus-Variation incl. Vertical Focus Probing technology | |
| Number of measurement points | single measurement: X: 1720, Y: 1720, X x Y: 2.95 Mio. multi measurement: up to 500 Mio. | |
| Positioning volume (X x Y x Z) | 310 mm x 310 mm x 310 mm = 29 791 000 mm³ | |
| Travel speed of axes | up to 100 mm/s | |
| Coaxial illumination | LED coaxial illumination (color), high-power, electronically controllable | |
| System monitoring | 9 temperature sensors (accuracy: ± 0.1 K), 3 vibration sensors, internal current and voltage monitoring, incl. long-term logging, retrievable | |
| 3D Accuracy 10360-8 | EUni:Tr:ODS,MPE = (0.8 + L/600) μm (L in mm) Axis accuracy based on ISO 10360-8. EUniZ:St:ODS,MPE = (0.15 + L/50) μm (L in mm) Valid for single measurements, height step measurements. | |
| Objective | 3000 WD8 | 1900 WD 30 | 1500 WD23 | 1500 WD70 | 800 WD17 | 800 WD37 | 400 WD19 | 150 WD11 | ||
| Working distance | mm | 8.8 | 30 | 23.5 | 69,4 | 17.5 | 37 | 19 | 11 | |
| Lateral measurement range (X,Y) | mm | 5.26 | 3.29 | 2.63 | 2.63 | 1.32 | 1.32 | 0.66 | 0.26 | |
| (X x Y) | mm² | 27.64 | 10.8 | 6.91 | 6.91 | 1.71 | 1.71 | 0.43 | 0.06 |


