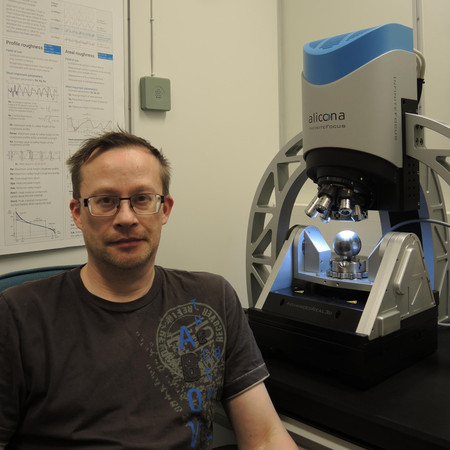
The Laboratory of Materials Science at Tampere University of Technology (TUT) in Tampere, Finland, conducts high-level research on the structure, properties, processing and use of practically any type of material. With the optical 3D measurement system, InfiniteFocus G5 by Bruker Alicona, they for example analyze the morphology of surfaces, verify dimensioning, and evaluate surface deformations, wear intensities and mechanisms. In strong collaboration with the industry, a broad variety of technical applications is covered. Measured materials include, amongst others, metals, polymers, textiles, wood, paper, ceramics, coatings and rocks. In addition, the optical 3D measurement system is used for full form measurement of tools, components and test specimens. Based on its operating principle of Focus Variation, InfiniteFocus combines the small depth of focus of an optical system with vertical scanning to provide topographical and true color information from the variation of focus.
Fast measurement of large areas and steep flanks
Since specimens in materials testing often contain fractured or deformed surfaces, steep flanks or rough surface topographies are regularly encountered. Bruker Alicona offers a unique solution to document the entire surface even with these difficult to measure features. "Initially, we were looking for a system that could measure specimens with both large areas of several square centimeters width and rough surfaces, like large wear or fracture surfaces with steep slopes. For us it was also important that the measurement system would be relatively fast. A third requirement was the possibility to do measurements by rotating the specimen and have real 3D models as a result”, Niko Ojala and Jarmo Laakso, researchers at the laboratory, explain. They continue: "With Bruker Alicona's InfiniteFocus we have found a measurement system that suits our needs. Due to the high demand and interest towards the system, the utilization ratio has been up to 24/7.”
Geometric verification of FSW tools for sealing nuclear fuel disposal canisters
The Applied Materials Science research group at the DMS offers help for any type of companies in any type of material related projects. "To name one example: In collaboration with two Scandinavian expert organizations for nuclear waste management, SKB and Posiva Oy, we were able to verify the geometry of a FSW-probe, which is used for sealing nuclear fuel disposal canisters”, Jarmo points out. FSW (Friction Stir Welding) is a welding method in which frictional heat is generated between the tool and a target metal. This causes the metal to soften and weld together by mechanical intermixing. The probe is intended to be non-consumable, so the challenge is to prevent the probe material from melting, while it is traversed along the welding line. Thus the accurate geometry of it is a key factor for an efficient welding process.
Full form measurement of tools
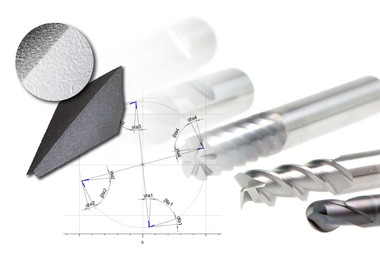
With an AdvancedReal3D rotation unit in addition to InfiniteFocus they achieved 360° form measurements of these probes. This enabled Jarmo to examine dimensions like length, diameter and radius, as well as roundness. Radii can be measured down to 2 μm in lateral resolution. The abidance of smallest, specified, tolerances is assured at the same time. Form deviations are evaluated by comparison to CAD data. In contrast to conventional methods, which are based on the analysis of 2D data, the Bruker Alicona measurement system provides numerical quantification and a detailed 3D surface characterization. For examining the surface texture, measurements not only include the roughness of a line profile but also area-based parameters. "The area-based roughness measurements lead to a more complete understanding of the surface state. Depending on the case and the customer's demand we analyze both profile-based roughness parameters like Ra, Rq, Rz and surface texture parameters such as Sa, Sq, Sz. Especially for lubricated contacts area-based surface roughness values are useful in order to study how different coatings perform. For example, nanostructured polymer coatings with a thickness of 20μm on metal substrates have been evaluated with our system", Niko and Jarmo clarify. The measurement of area-based surface parameters with InfiniteFocus conforms to the EN ISO standard 25178. Profile-based measurements according to EN ISO 4287/88 provide the possibility to compare the optical results to tactile measurements.
As one of the requirements was the measurement of large areas, the laboratory found not many measurement devices that could deliver. "Previously we had only an interferometry system, but it was not able to measure large areas efficiently, in fact it would have needed days to do that. With Bruker Alicona we are able to measure areas up to 200 x 200 mm at high measurement speed”, Niko and Jarmo explain. As measurements of large areas often also require long measurement depth z-ranges – as specimen can either have a curved form, large height differences or highly deformed surface – InfiniteFocus has proven to be the right tool.
Easy quantification of material deformation on large measurement areas
Lastly by using the MultiMeasurement method offered by the InfiniteFocus system, Niko and Jarmo found a feature that has proven to be very time-saving. "With MultiMeasurement we can set up an automatic measurement routine for about dozen of specimens to be completely measured one after another or measure multiple locations on them with higher magnification. This saves both working and machine time for other tasks as for example night times can be fully utilized with the method”, explains Niko. He and Jarmo conclude their remarks with the statement: "Versatility and agility are important, as well as user friendliness, and that’s what Bruker Alicona gives us.”


