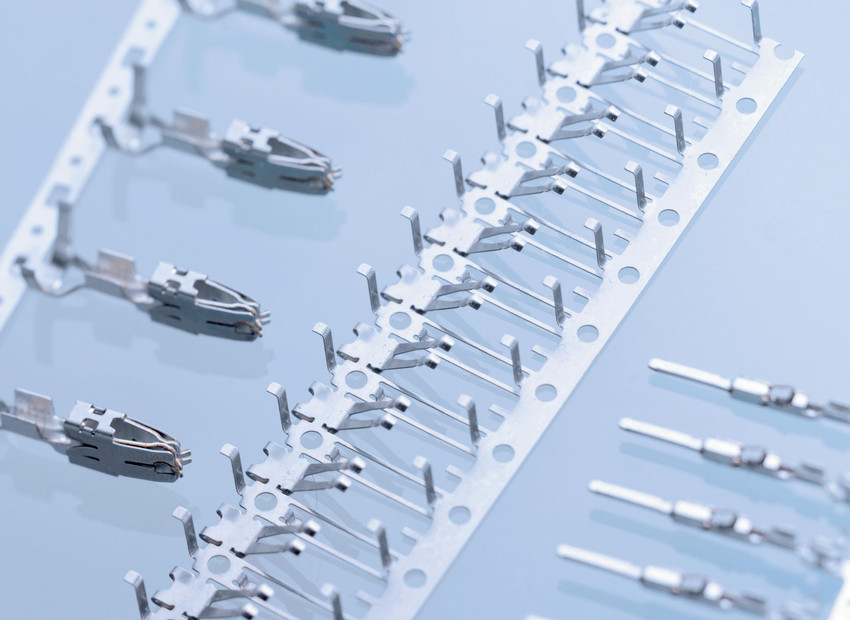
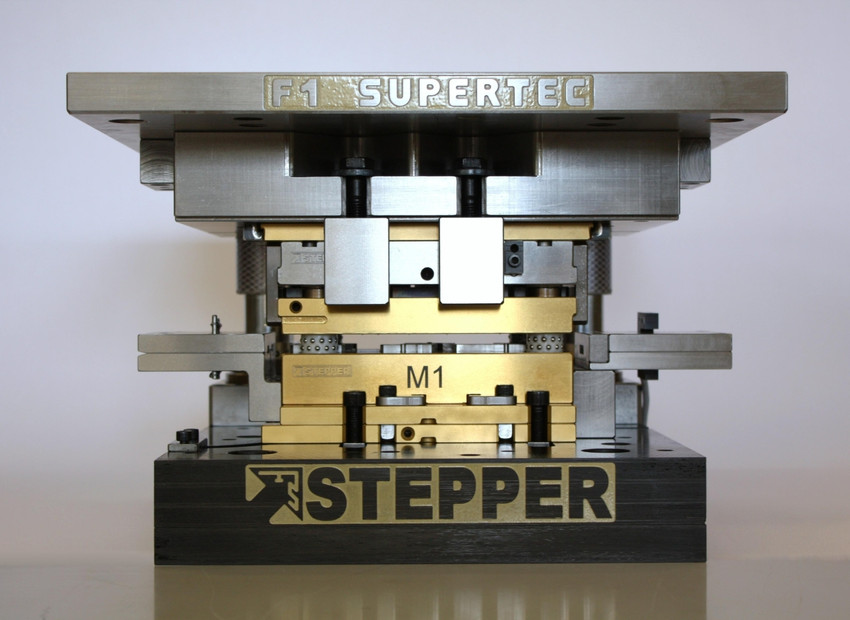
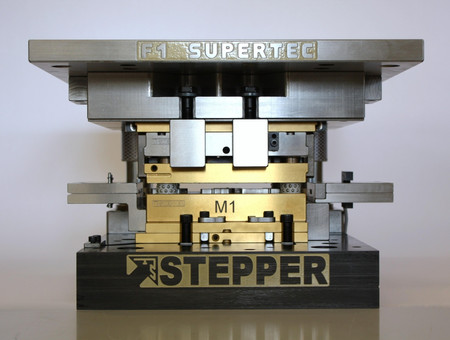
When a tool is used to make seven plug connections simultaneously at 2300 strokes per minute, 16,100 contact parts are produced every minute. For Marcel Heisler, Head of Laser Ablation and High-Speed Cutting at Stepper, one thing above all applies to this throughput: "We need to measure, measure, measure!” The demands of its customers, who are mainly from the automotive industry, are high. "The automotive industry has always demanded maximum precision and productivity," says Heisler. This has to be in line with the tool life because only tools that are outstanding in terms of material, surface quality and accuracy can manufacture the demanding geometries of micro components with consistently high precision. Heisler sums it up in a nutshell: "Only when the tool is running, can money be made.” To ensure the quality of its pressing and bending dies, Stepper for years has been relying on quality assurance by Bruker Alicona.
Optical 3D measurement for final inspection and further development of stamping tools
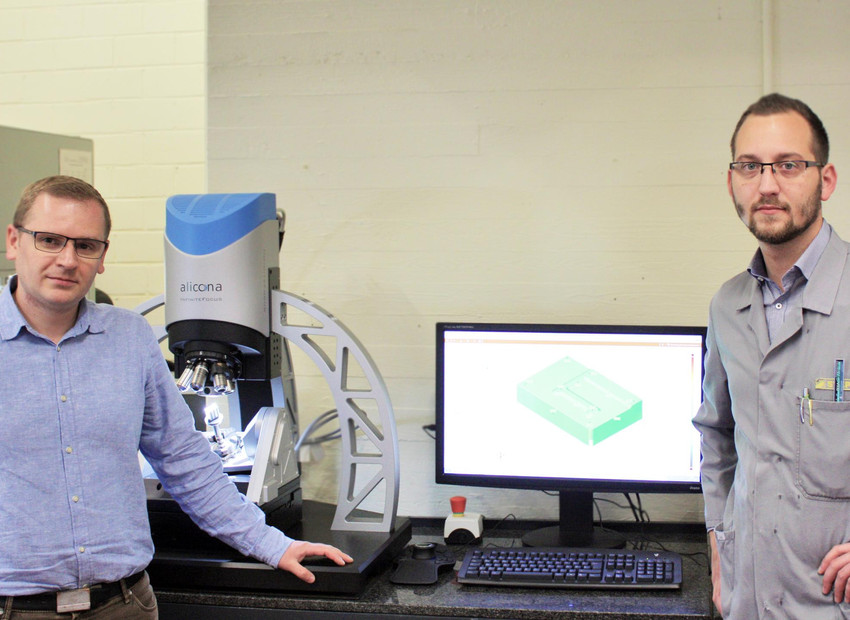
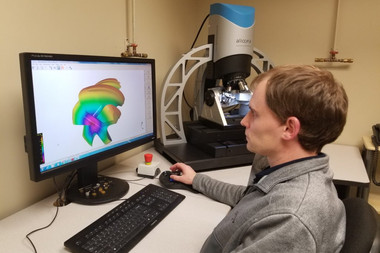
"We use Bruker Alicona for the continuous quality assurance of the manufactured parts as well as for the further development of our tools with regards to material, surface quality and accuracy. This is only possible with absolutely reliable measurement results," says the German toolmaker Fritz Stepper GmbH. Since 2010, the manufacturer of high-performance punching tools has been relying on Bruker Alicona’s Focus-Variation measuring systems. "Before Bruker Alicona, we had massive difficulties measuring the steep flanks, smooth surfaces and different reflection properties of our tools. The knowledge we've gained from Bruker Alicona from the beginning has brought us incredible progress," says Heisler. The repeatable and traceable measurements of even complex free-form surfaces are one reason why Stepper has invested in a third Bruker Alicona system. Another reason for this is the wide range of applications offered by only one measuring system. Stepper verifies both dimensional tolerances and surface quality by measuring the roughness of different component types, shapes and sizes. His conclusion: "We do not know of any other system that offers such a wide range of applications. We can measure just about anything!"
Fully automated measurement systems can be operated without metrology knowledge
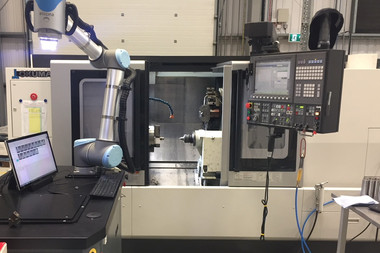
Precision and innovation are demands that Stepper and Bruker Alicona have in common. Both companies are regarded as pioneers and drivers of their industry, what they are now proving once again. Stepper organizes its production according to the latest technologies and production concepts. Digitization, networking and optimized communication of all production systems are becoming increasingly important. Part of the modern production strategy is also to see measurement technology as an integral part of production and to position it accordingly. Measurement technology is not only used at the end of a production chain, but as part of the production process. A prerequisite for this are fully automated measuring systems that can be operated without any previous knowledge of metrology.
Automatic measurement of pre-defined measurement programs
Bruker Alicona offers this automation with the software interface AutomationManager. It enables the user-specific configuration of measurement series by an administrator on a reference component, which is started by an operator in production at the push of a button. Control and evaluation are fully automatic, taught-in parameters are measured without user influence. Stepper is currently introducing the AutomationManager in its production. "Components of new batches only have to be taught-in once on a reference part, each additional component is automatically checked," explains Heisler. "This will increase our efficiency many times over."
Defining measurement series in the CAD file of components
In terms of increasing efficiency through automation, Stepper has further plans with Bruker Alicona. The optional connection of the automation software to an existing CAD-CAM program allows the integration of measurement technology as early as in the design phase by defining measurement series in the CAD data set of a component. A simulation provides a preview of the measurement process to be carried out and thus supports reliable measurement planning. The virtual operation of the Bruker Alicona measuring system covers the entire handling, from the positioning of a component to the determination of the measuring range in 3D. For Stepper, the advantage is obvious: "We expect massive time saving. With the CAD-CAM connection, I no longer need the measuring system to teach-in my measurement series, this can be transferred to another workstation. This means that we will be able to use the measuring device 24 hours a day, 7 days a week without interruption in production and fully utilize it."
With the implementation of measurement technology in production and design, Stepper is following its strategy of integrating the best technologies into its products with suitable partners. Marcel Heisler confirms: "As a high-tech company, we are looking for partners who share our passion for precision. We found this in Bruker Alicona!"
