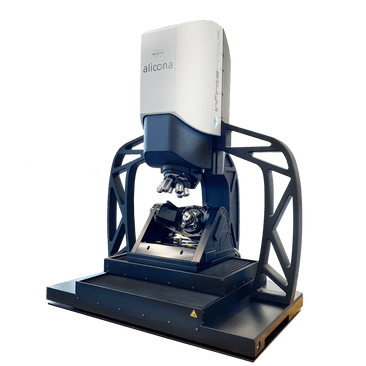
How to meet the safety requirements of your aircraft components with optical 3D metrology
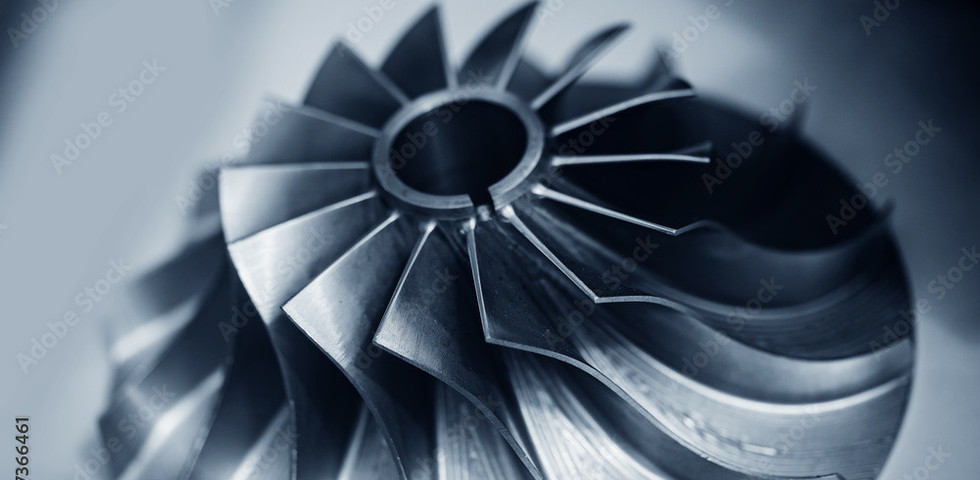
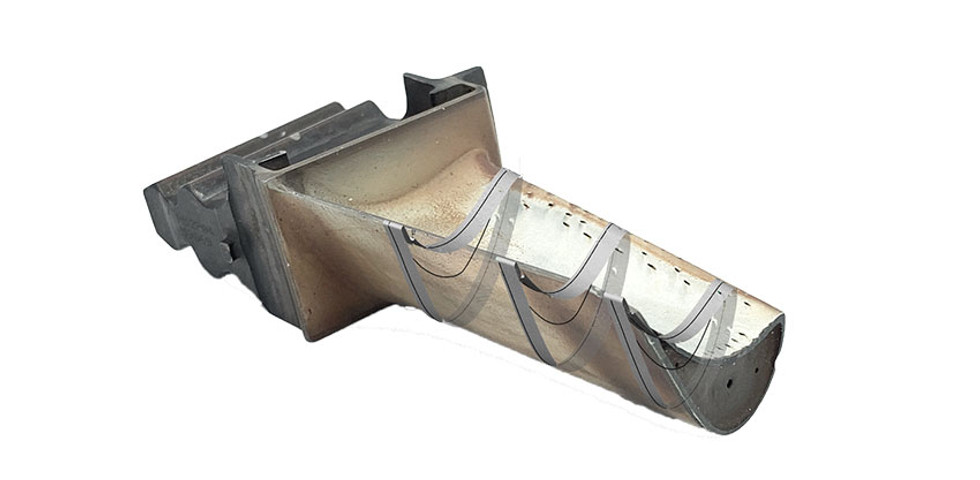
Turbine engines are higly specialized aircraft components that must meet comprehensive safety requirements. These precision components are based on complex geometries and tolerances even in the single-digit μm range. Functional features such as micro bores for the cooling of turbine blades or defined broken edges on highly stressed components contribute to increased efficiency and ensure safe operation.
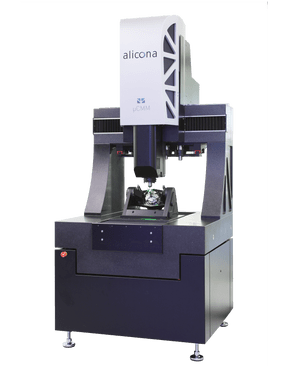
High-resolution optical 3D metrology systems are ideally suited to meet the safety requirements of high-performance aircraft components: Measure width, length, depth, and volume of fractures or scratches, or conduct measurements of steep flanks with the help of a special illumination technology. Other applications include the automatic verification of angles, sizes, and shapes of up to 500 cooling holes, even in different shapes. Furthermore, verify coating processes or MRO actions with profile-based (Ra, Rq, Rz) and area-based (Sa, Sq, Sz) roughness measurements.
Do you have questions?
Our applications for the aerospace industry
What can be measured optically?
- Break edges of fan blades, compressor discs, turbine blades, blisks or cases, according to the American Society of Mechanical Engineers (ASME)
- Leading and trailing edges of turbine blades, even with sharp opening angles
- Small defects of components (e.g. rotor blades) or component assemblies (e.g. motors)
- Geometry of cooling holes
- Surface roughness
Your application is not listed here? No problem - our customized solutions team will find a solutions that works for you. Just get in touch!

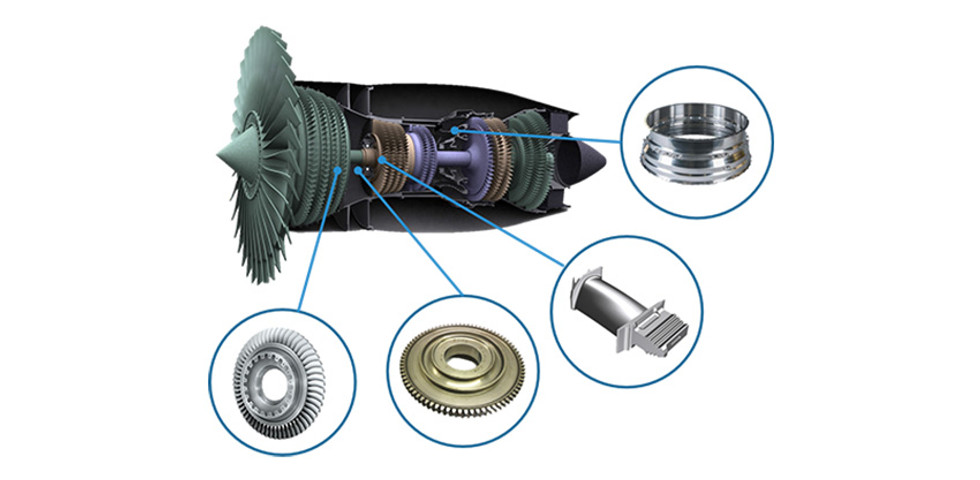
Turbines

Turbine blades

Gears

Disks & blisks

Combustion chamber (housing)


