Automated Measurement Solutions for Maximum Efficiency - Visit us at CIMT 2025
Looking for faster, more precise, and fully automated quality control? Experience the future of optical 3D metrology at CIMT Beijing! We’re showcasing cutting-edge optical measurement solutions that help you reduce scrap, optimize efficiency, and ensure highest precision in your production.
- 360° measurement - Achieve unparalleled accessibility with the new Real3DUnitX for thorough inspections using CAD files for comparison
- Automatic Round Tool Alignment – Maximize tool performance with precise and efficient alignment of drills and milling cutters
- Precision Die Measurement – Ensure longevity and reliability of punches, stamping and bending dies
- Cooling Hole Measurement– Guarantee optimal airflow with precise cooling hole inspection
- Bipolar Plate Measurement – Achieve peak fuel cell efficiency with high-precision metrology
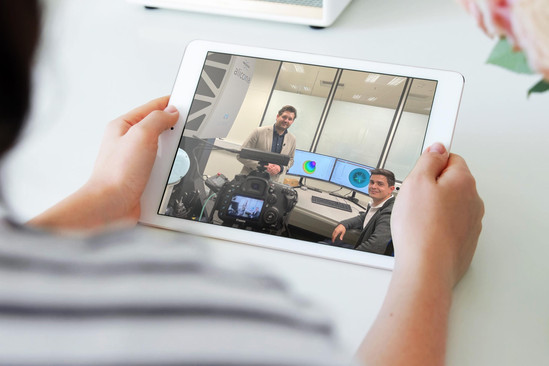
We can't wait to meet you! Take this opportunity to book a personal demo at our booth #534.
Counting down to CIMT 2025 in Beijing
Strong Optical 3D Measuring Solutions On Site
360° Measurement of Your Components
dieSonne-(81)-440x293.jpg)
dieSonne-web-(102)-439x293.jpg)
dieSonne-web-(51)-439x293.jpg)
FocusX - fast, precise, robust
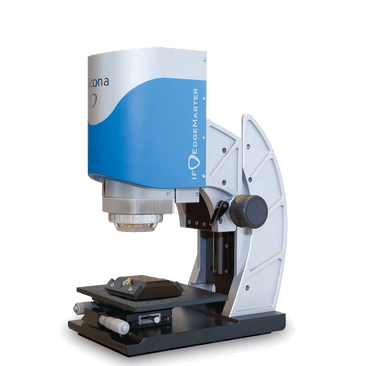
Designed for seamless in-line measurements the FocusX is fast, precise and robust, with a measuring volume that is more than sufficient for most applications. However, the system achieves maximum versatility with the Real3DUnitX.
Real3DUnitX - 360° measurements
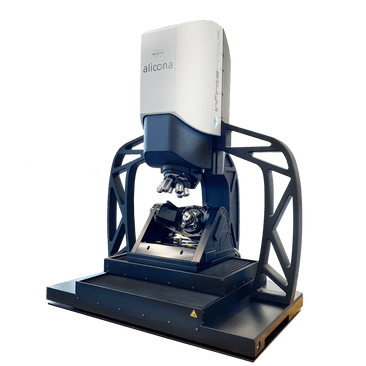
The new Real3DUnitX with a rotation and tilting unit boosts automation and versatility, setting new standards in precision measurement. It's perfect for comprehensive analysis of components with complex geometries and surface properties.
Complete automation in MetMaX
Simply click on the measurement point to be measured in the CAD, and MetMaX automatically recognizes how the sample needs to be rotated, tilted and moved to reach the desired position - ensuring FocusX measures exactly where you need it.
New Software Features for Even More User-Friendliness
Automated Round Tool Alignment
New feature of InfiniteFocus G6 & FocusX
Simplified measurement process by reducing manual effort and minimizing sources of error? Sounds too good to be true? Explore the Automatic Round Tool Alignment from Bruker Alicona for precise and efficient alignment of drills and milling cutters and benefit from higher accuracy and repeatability of your measurement results.
Automation streamlines series production by seamlessly integrating the measuring process into manufacturing. This ensures fast, reliable measurement of a large number of tools, optimizing resources and enhancing product quality.
Contour Scanning
New feature of InfiniteFocus G6 & µCMM
Discover the latest advancement of Focus Probing technology at Control 2025: Contour Scanning offers significantly higher speed and ease of use as well as extensive automation options, making even faster and more intuitive contour measurements.
Benefit from:
- Flexible contour scanning of larger areas
- Intuitive operation using waypoints
- Automatic illumination
- Process simulation for optimization
- Automatic and robust data acquisition
One Solution for Determining All Parameters of Cooling Holes
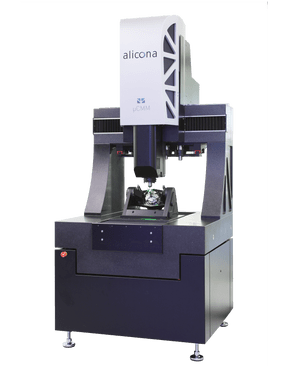
Measuring cooling holes has never been so simple and so precise: The µCMM coordinate measuring machine combines two technologies to capture the required measurement data. Vertical Focus Probing enables a fast, high-resolution and non-contact measurement of the hole geometry and allows measurement deep inside the hole – even with flanks of more than 90°. This method ensures that each cooling hole is optimally positioned to provide maximum cooling performance and safety. The surface, especially the conical part of the cooling hole, is measured with the Advanced Focus-Variation. Thanks to the working distance of up to 130 mm, there are no accessibility restrictions.
Revolutionize the Quality Control of Your Precision Dies
In today's manufacturing processes, achieving precise and high-quality results is paramount, especially when it comes to precision dies such as punches, stamping and bending tools. Are you also confronted with complex geometries with steep flanks and very smooth surfaces? Discover how to measure dimensional accuracy and surface roughness in one system with the optical µCMM.
Optimized Performance through Surface Analysis of Bipolar Plates
Discover our advanced measurement solution for bipolar plate quality assurance. As the core of fuel cell efficiency, their surface quality directly impacts conductivity, durability, and overall performance. Our optical 3D measuring devices enable highly precise surface analysis and ensure the highest standards for your components.
Gain valuable insights into roughness, flatness and structural integrity of of the crititcal flowfield.
More Optical 3D Measuring Devices at Control 2025
3 reasons why you should visit us
Bring your component &
we measure together on site.
Find your ideal measurement solution.
Get to know us in person.

dieSonne-(1)-2000x857.jpg)
dieSonne-(1)-2000x3000.jpg)
dieSonne-(1)-2000x2000.jpg)
dieSonne-(13)-659x439.jpg)


