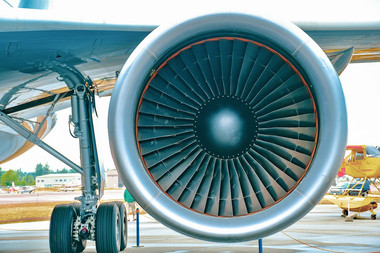
Ensuring safety and efficiency of high-performance aircraft systems
The quality control of cooling holes is important for increasing efficiency and ensuring safety of high-performance systems such as gas turbines and aircraft engines. Even if heat-resistant materials (Inconel steels) are used, the surface must be cooled because surrounding gases are in the range of the melting point. This is done with compressed air from the inside of the blade.
Thus, the position, orientation and shape of the holes play a major role for the safety of aircraft or gas turbines. Currently, their geometry is measured using computer tomography or fiber probes. In contrast, the proposed method, Vertical Focus Probing, offers advantages in terms of measurement time, resolution, non-contact measurement and the possibility to measure deep into the hole. In this paper, we demonstrate the advantages of Vertical Focus Probing for cooling hole measurements. We have a look at several results based on highly accurate 3D measurements of differently shaped holes.

3D dataset of a cooling hole


