Medical Device Regulation: Stricter rules, better quality management?
Zfx, a long-standing user of Bruker Alicona measurement technology, is facing a challenge that affects all manufacturers of human medical components and implants equally: the Medical Device Regulation (MDR). But like every hurdle, the regulation, which came into force in 2017, also brings new opportunities.
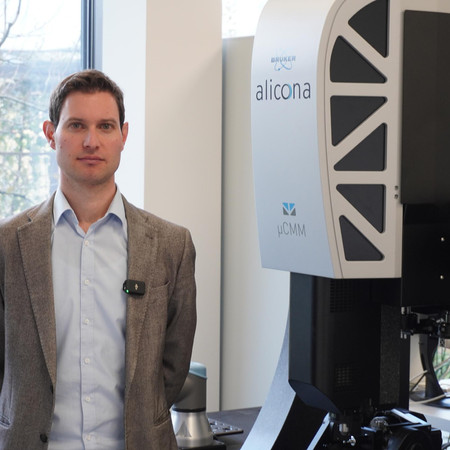
Lukas Breitenberger
General Manager Zfx
Of course, the patient benefits from the stricter requirements. The MDR provides more security. However, it will be difficult or even impossible for start-ups to overcome the financial hurdles of the regulation.
READ THE ENTIRE SUCCESS STORY
Global distribution of artificial tooth components
Zfx is a global dental company based in Dachau (Germany) and Gargazon (Italy). On the one hand, Zfx develops and produces prosthetic components for dentists and dental technicians. On the other hand, the company offers specially developed equipment (scanners and milling machines) as well as the corresponding materials for the production of crowns and bridges in the laboratory. Zfx is part of the publicly listed US group ZimVie - a life science company specializing in dental and spinal medicine.
Incoming product and prototype inspection
Zfx attaches great importance to quality assurance in two areas. In Italy, both the prototypes are approved and the incoming products are checked. Prototype approval in particular is very extensive in terms of quality control, as these components are measured one hundred percent. In terms of shape, position and dimensions. The measurement technicians have been using the coordinate measuring machine µCMM from Bruker Alicona for several months now.
The biggest challenges we face are in quality assurance for the smallest components. These are less than ten millimetres. In addition, we work with titanium, a highly reflective material, which makes measurement particularly complex.
But why the µCMM from Bruker Alicona
Zfx has been using an InfiniteFocus G5 for five years now. Werner Weithaler confirms: "The InfiniteFocus G5 has met our quality assurance requirements right from the start. We can neither complain about defects nor about insufficient measurements." When asked why a coordinate measuring machine was chosen, Weithaler replied that Zfx had further expanded its quality control, not least because of the MDR. "And because we were already so satisfied with the G5, it was clear that Bruker Alicona would be our first point of contact again." The CMM is ideally suited to the dentistry company's measurement needs, as the accuracy in space is higher and local optical probing can significantly reduce the duration of a complete measurement plan.
Automation with pick and place
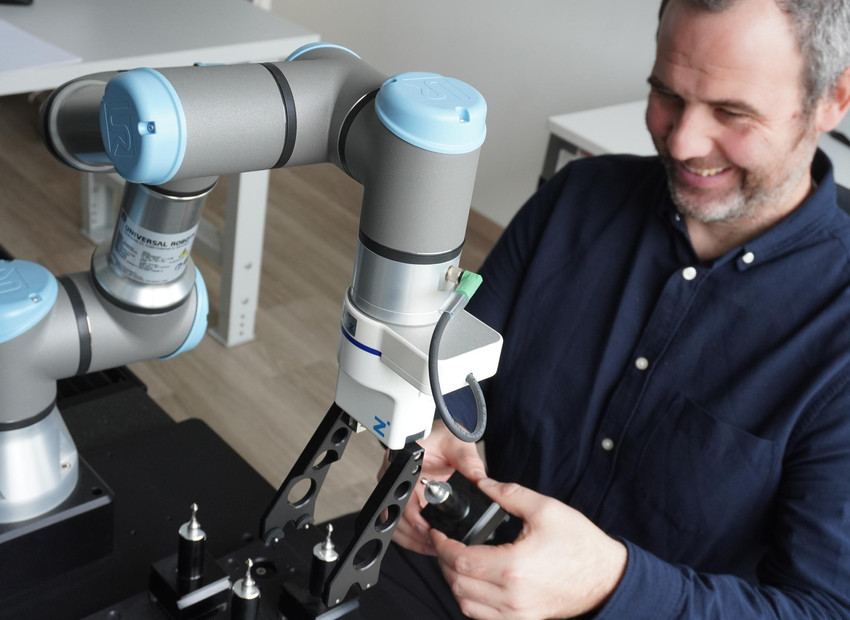
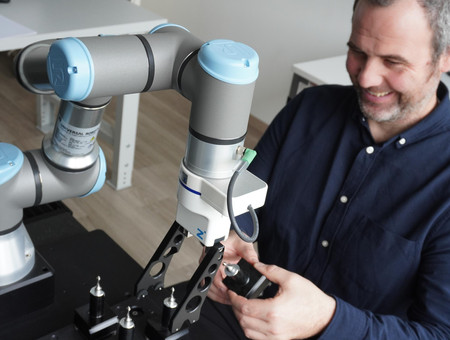
A few months after commissioning the µCMM , Zfx took the next step in quality management by adding a pick and place function to the coordinate measuring machine. "This means that the machine can also measure overnight and at weekends when no employee is on site." As the pick and place loads the components automatically, the workflow is never interrupted.
How Zfx succeeds with Bruker Alicona's solution

µCMM with Pick & Place
Coordinate Measuring Machine
- Precise, accurate, and fast optical 3D measuring instrument for tolerances in the µm and sub-µm range
- Measures external and internal diameters, shape, and position tolerances
- The pick and place loads the components automatically, the workflow is never interrupted


