Automated placing, measuring & sorting in production
Pick & Place, this means high-resolution optical 3D measurement technology in combination with a collaborative robot arm that enables automated placing, measuring and ok/not ok sorting in production. The automation solution enables users to set up a complete automation process within ten minutes.
How does Pick & Place work?
Bruker Alicona measuring systems can be extended with a collaborative robot arm to automatically pick, place, measure and sort components. The system is based on the interaction between an administrator who pre-defines automation processes, the collaborative robot for the manipulation and placing of components as well as high-resolution optical 3D measurement technology. The possible connection to existing production systems including ERP facilitates adaptive production planning.
Pick & Place is also possible with the optical µCMM
Dimensional metrology in combination with collaborative robots
μCMM can be extended to a complete "Pick & Place” solution with a collaborative robotic arm. In this configuration, automatic placement, measuring and sorting of parts can be realized in one measuring process. An administrator defines corresponding measuring programs (teach in) and the robot takes over the assembly of the measuring system with the components to be tested. After the 3D measurement and evaluation, the parts can be automatically sorted into O.K. / not O.K parts.
Measurement example with stamping tool expert Stepper
Optical 3D measurement of a 3-up stamping insert
For many years, the stamping tool expert has relied on Bruker Alicona's optical 3D measurement technology for quality assurance. Stepper now also uses the new automated optical CMM measuring solution µCMM Pick&Place. The optical coordinate measuring system µCMM is extended by a robot arm to automatically pick, place, measure and sort components. The range of applications includes embossing inserts, embossing dies, bending inserts, bending dies, etc.
The component being measured:
3-up stamping insert for high-performance stamping tools, which are used for the production of miniaturized automotive contacts. Stepper produces up to 2250 plug contacts per minute, and within just a few years 3 billion parts have already been produced.
What is important for the measurement:
Dimensional accuracy, surface quality and the position of the embossing die relative to the outer contour. As 3 parts are produced simultaneously with each stroke in this stamping process, it is also checked whether all 3 forms match.
What is also possible with µCMM:
Reduced measuring times with highest accuracy. One of many benefits is that it is not necessary to measure the complete component. Users only need to measure the relevant measuring positions. "We only have to measure selected positions of the tools´ contour. This reduces measurement times by more than 2/3.

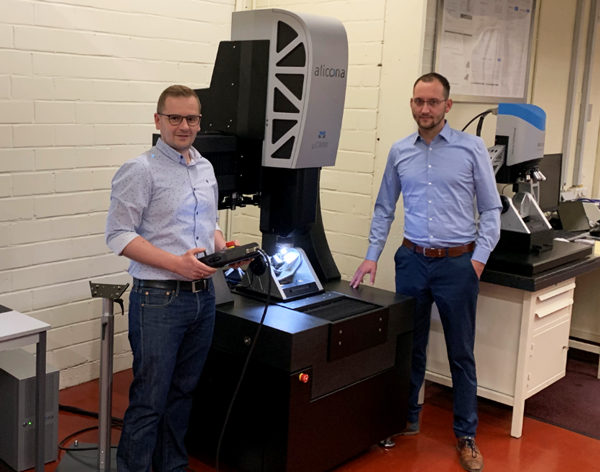
Measurement Technician Alexander Geiger and Marcel Heisler, Head of Laser Ablation and High-Speed Cutting at Stepper, with the µCMM

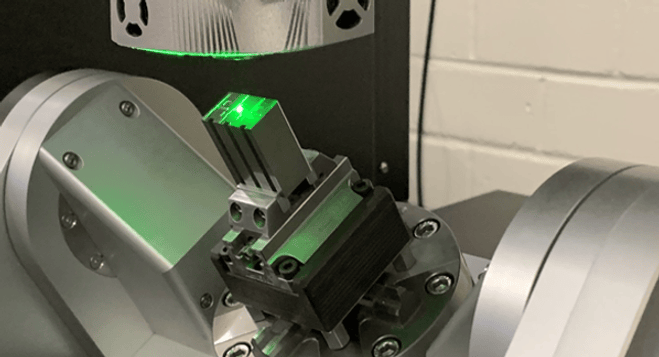
Stamping insert measured with the µCMM Pick & Place
What is the benefit of Vertical Focus Probing?
The possibility of measuring components with flanks of more than 90° opens up a completely new spectrum of parts for Stepper. "To date, we have mainly measured embossed and bent parts. Now we can also measure cylindrical, continuous contours such as cutting punches and cutting inserts."
How is automation implemented?
µCMM is extended with a collaborative robot arm. This Pick & Place solution enables automatic assembly and measurement including sorting in OK/not OK components. The teach-in of measurement series takes place in only 3 steps and requires no previous knowledge of measurement technology.


