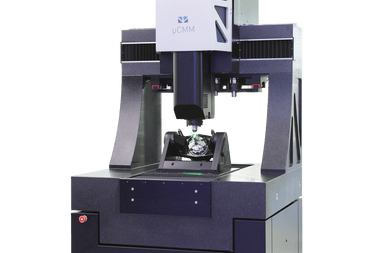
Gear shaft malfunction inspection with the optical CMM machine
The measuring object in this measurement report is a faulty gear shaft, measured with the optical CMM machine µCMM and a rotation unit (µCMM Real3D). In order to analyze the malfunction of this gear shaft part, the following parameters need to be measured:
- coaxiality of gearing in respect to shaft
- outer diameter of gearing and shaft areas
- shaft lengths
- profile & areal roughness on the tooth flank
- parameters to qualify the gearing itself

Gear shaft
Share this article


