Optical 3D measuring device for shape & finish
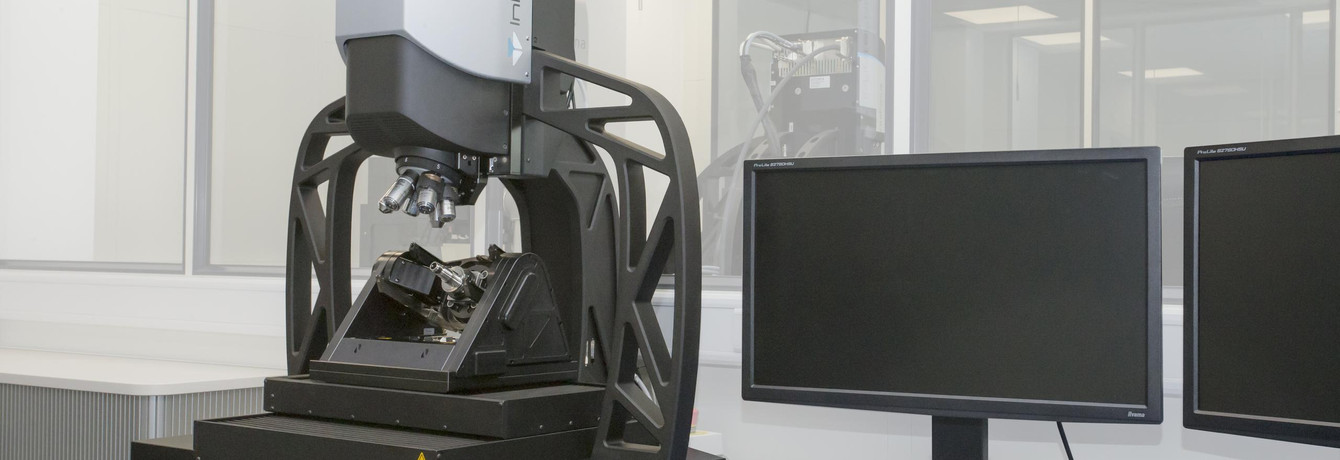
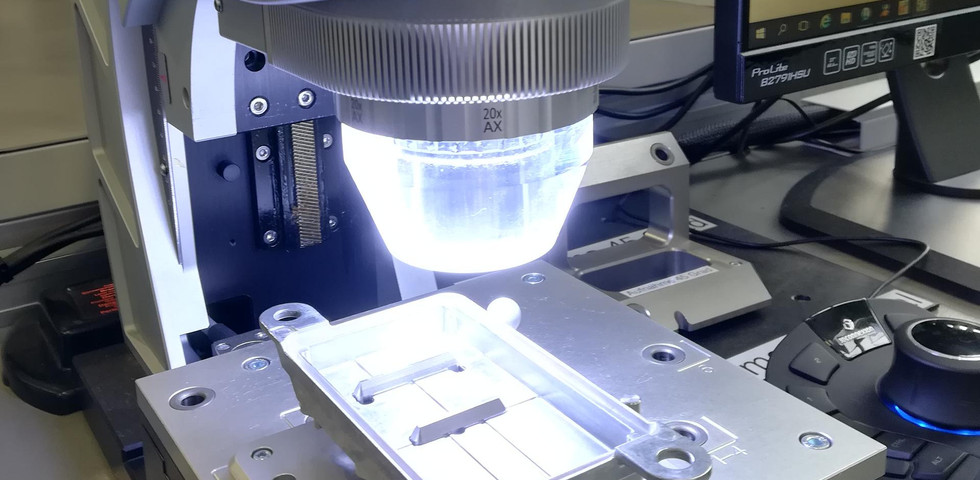
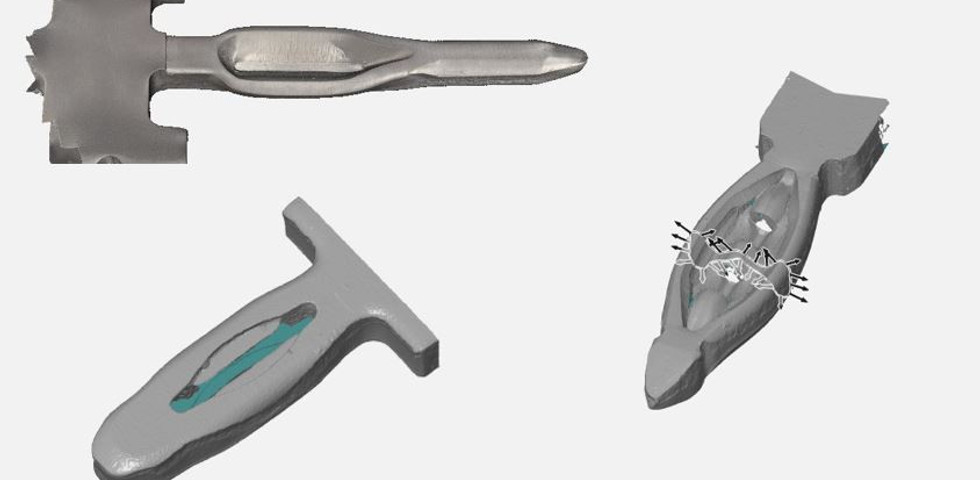
InfiniteFocusSL is a cost-efficient optical 3D measuring device for simple, fast and traceable measurement of shape and surface finish on micro structured surfaces. Users measure both shape and finish of components with only one system.

Technical specifications
| Measurement principle | non-contact, optical, three-dimensional, based at Focus-Variation |
| Positioning volume (X x Y x Z) | RL objectives: mot.: 50 mm x 50 mm x 155 mm (Z: 25 mm mot., 130 mm man.) = 387 500 mm³ |
| SXRL/AXRL objectives: mot.: 50 mm x 50 mm x 120 mm (Z: 25 mm mot., 95 mm man.) = 300 000 mm³ |
| Objective name | 10x | 20x | 50x | 2xSX | 4xAX | 10xAX | 20xAX | 50xSX | |||
| Working distance | mm | 17.5 | 16 | 10.1 | 34 | 30 | 33.5 | 20 | 13 | ||
| Lateral measurement area (X,Y) | mm | 2 | 1 | 0.4 | 10 | 5 | 2 | 1 | 0.4 | ||
| (X x Y) | mm² | 4 | 1 | 0.16 | 100 | 25 | 4 | 1 | 0.16 | ||
| Vertical resolution | nm | 100 | 50 | 20 | 3500 | 430 | 130 | 70 | 45 | ||
| Height step accuracy (1 mm) | % | 0.1 | 0.1 | 0.1 | 0.1 | 0.1 | 0.1 | 0.1 | 0.1 | ||
| Max. measurable area | mm² | 2500 | 2500 | 2500 | 2500 | 2500 | 2500 | 2500 | 2500 | ||
| Min. measurable roughness (Ra) | µm | 0.3 | 0.15 | 0.08 | n.a. | n.a. | 0.45 | 0.25 | 0.15 | ||
| Min. measurable roughness (Sa) | µm | 0.15 | 0.075 | 0.05 | n.a. | n.a. | 0.25 | 0.1 | 0.08 | ||
| Min. measurable radius | µm | 5 | 3 | 2 | 20 | 12 | 5 | 3 | 2 |
Lecture: Evaluating press-fit zones with InfiniteFocusSL
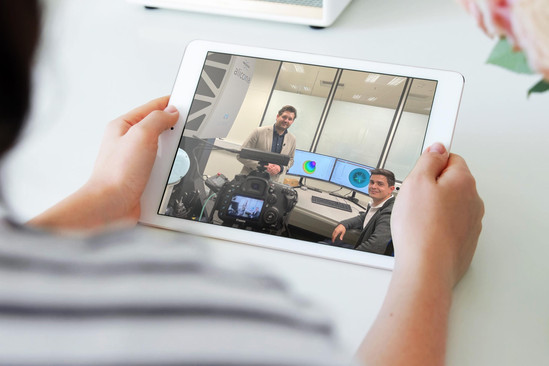
Frank Uibel, a long-time expert and business consultant in press-fit and stamping technology, talks with Bruker Alicona Sales Manager Urban Muraus about the key aspects of measuring systems and the requirements on precision, measuring speed and user-friendliness.

