How to Improve Surface Quality & Edge Preparation
You're eager to enhance surface quality and perfect edge rounding? Look no further! Bruker Alicona and OTEC USA Inc. are excited to invite you to an exclusive Demo Workshop on October 16-17, 2024, in North Kingstown, Rhode Island.
Witness firsthand how the technology leader in mass finishing machines achieves flawless surface finishes and edge rounding. The integrated quality assurance, based on optical 3D metrology from Bruker Alicona, enables automatic process correction, providing a closed loop. Join us for hands-on experience with the fastest and most versatile optical measuring device, FocusX, and explore Bruker Alicona's optical 3D metrology capabilities, ideal for verifying precision in manufactured components.
Join our Exclusive Live Sessions!
Our metrology experts will present relevant optical 3D measurement solutions and answer your questions in exclusive live sessions.
Don´t forget to bring your samples (components, tools, etc.) to measure!
Discover Manufacturing Precision On Site
OTEC Stream Finishing Machine
Stream Finishing (SF) technology is an advanced mass finishing method where workpieces are clamped and lowered into a rotating container filled with grinding or polishing medium. The combined motion of the medium and the independent rotation of the workpiece achieves extremely smooth surfaces, with values as fine as Ra 0.01. SF offers short finishing times, easy automation, and highly consistent results.
Distinct for its powerful processing forces, SF technology allows for faster and more selective material removal than other finishing systems. It is ideal for applications requiring exceptional surface quality in small geometries, such as deburring, polishing, smoothing, and edge rounding of cutting tools. SF machines excel in finishing stamping, forming, and cutting tools, as well as automotive and aerospace components.
Bruker Alicona FocusX
Introducing the the most versatile and fastest optical measuring device in its class. FocusX is equipped with Advanced Focus-Variation technology and combines the functionalities of a roughness measuring machine and a coordinate measuring machine. In other words, one device for all metrology tasks.
Bruker Alicona takes user-friendliness to the next level. With FocusX and the One Click Roughness feature complicated and restrictive measurements are history. One Click roughness is as simple as it sounds. With one click, FocusX delivers ISO-compliant profile roughness values, with the minimum measurable roughness being 0.06 µm.
Reserve your personal time slot
Day 1 | October 16, 2024
Group 1 | 09:00 am - 10:30 am
Group 2 | 10:30 am - 12:00 pm
Group 3 | 12:30 pm - 02:00 pm
Group 4 | 02:00 pm - 03:30 pm
Group 5 | 03:30 pm - 05:00 pm
Day 2 | October 17, 2024
Group 1 | 09:00 am - 10:30 am
Group 2 | 10:30 am - 12:00 pm
Group 3 | 12:30 pm - 2:00 pm
Group 4 | 02:00 pm - 03:30 pm
Group 5 | 03:30 pm - 05:00 pm
OTEC Enhances Machine Reliability and Component Quality with Bruker Alicona Optical 3D Metrology
Smoothing, Rounding, Deburring: How Metrology Increases Efficiency
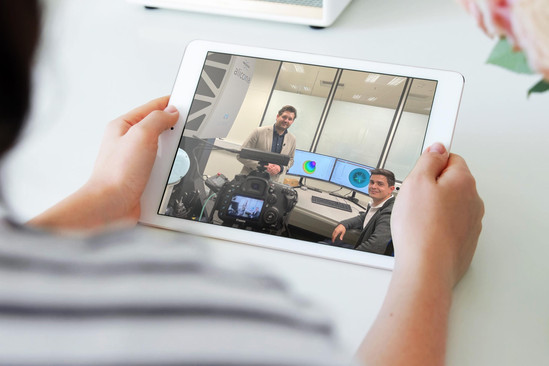
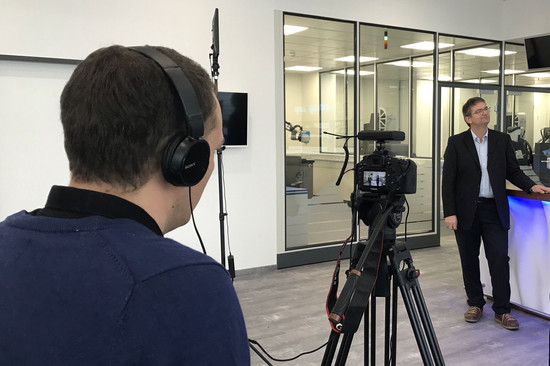
OTEC Präzisionsfinish has relied on Bruker Alicona's Focus-Variation technology for over a decade to enhance machine reliability and component quality. Witness the integration of in-line optical metrology in OTEC's new mass finishing machine, aimed at boosting quality assurance. Soran Jota, Managing Director at OTEC, discusses these innovations with Urban Muraus, General Manager at Bruker Alicona.
Discover the Various Applications of FocusX
Have you ever tried to measure the dimension, position, shape, and roughness of a milled and laser-machined component from machine tools? Learn how the Vertical Focus Probing technology allows to laterally probe the sides of the workpiece, enabling also the measurements of holes and bores with a diameter-to-depth ratio of 1:3 to 1:10.
You want to explore more applications with FocusX? Dive into our measurement report!

dieSonne-FocusX-(24)-1505x850-2000x857.png)


