Optical 3D measurement of precision dies
Dimensional accuracy & surface roughness of punches, stamping & bending dies
In today's manufacturing processes, achieving precise and high-quality results is paramount, especially when it comes to precision dies such as punches, stamping and bending dies. These tools play a crucial role in various industries, including automotive, plastics, electrical, textile and medical technology. Production through shaping processes such as stamping, punching, bending or deep drawing involves a number of challenges. At high volumes and speeds, smooth replacement of dies is necessary for consistent component quality. Are you also confronted with complex geometries with steep flanks and very smooth surfaces? Discover the optical 3D measurement of dimensional accuracy and surface roughness in one system with Bruker Alicona.
Check this out: 5 steps to increase competitive advantages of your precision dies

Are you looking to gain a competitive edge in the precision die industry? Bruker Alicona helps you to maximize the productivity of unrivaled precision dies. In this video Senior Application Engineer Kevin Mathy talks about 5 steps to boost the competitive advantages of your precision dies using Bruker Alicona optical 3D metrology.
Key takeaways from this videotalk:
- Learn the 5 essential steps to maximize your competitive advantages
- Explore the benefits of Bruker Alicona measuring technologies for precision dies
- Discover how fast and non-contact measurements can save time and ressources
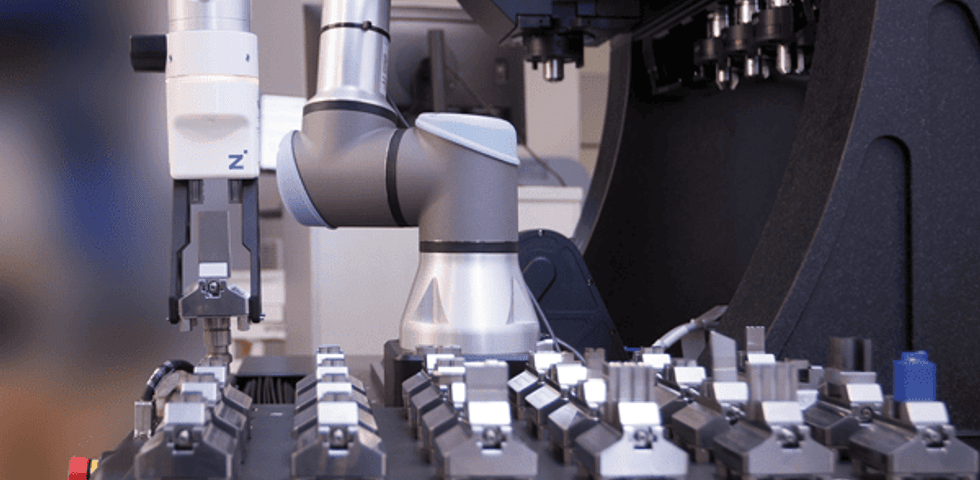
- Reveal automation options with Bruker Alicona measuring devices
Request Video
Why to choose Bruker Alicona's optical 3D metrology for your precision dies?
When manufacturing precision dies, the stakes are high. Exact bending angles, precise stamping depths, tight tolerances and high repeatability are required. To ensure longevity and reliability of precision dies, traditional or tactile measurement technologies reach their limits: Either the measurement time is too long, there are only 2D sections, or there is a compromise between measurement accuracy and resolution. That's where Bruker Alicona steps in with their optical 3D measurement solutions. Bruker Alicona measuring devices not only meet the highest quality standards, but also enable:
Trusted solution
Bruker Alicona's optical measuring solution for precision dies was developed in collaboration with industry leaders such as Stepper, Kleiner and TE Connectivity.


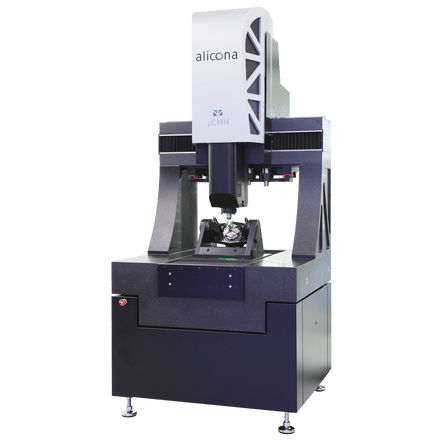
For us, the µCMM is the ideal solution in many ways. It offers high accuracy, even for tolerances in the single-digit micron range. Additionally, we benefit from an efficient user interface - the µCMM is designed to be operated by multiple users. Further, we experience a noticeable reduction in measurement times.
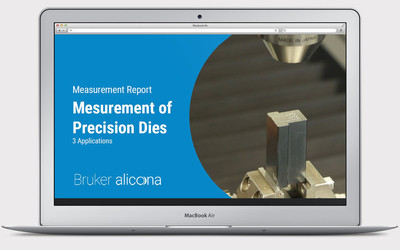
Curious about precision die measurement in practice?
Explore our measurement report with 3 applications from industry leaders.


