At the Hassel location in Germany, there was a basic quality control process for various components. However, this involved a cumbersome testing process as different measurement systems were used to ensure quality. For instance, optical measuring microscopes were used for mold release, and distances (height dimensions) were determined using a tactile coordinate measuring system. Additionally, continuous measurement of mold release wasn't possible with the existing systems.
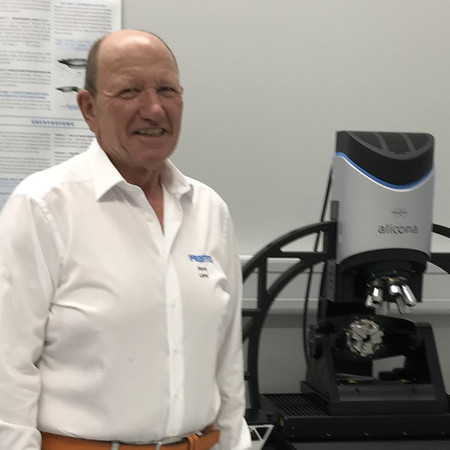
"It became evident that the measurement process was not only time-consuming and costly but also failed to achieve the precision required for our high-quality standards," said the Head of Global Operative Production Quality, Horst Lang. Thus, optimizing the testing process became a top priority. The main challenges were to integrate different measurement systems into one system for an automated measurement process and to measure independently of time and personnel. These requirements were met by implementing the Bruker Alicona measurement system InfiniteFocus.
Flexibility and precision as crucial requirements
Flexibility is required not only in manufacturing itself but also in metrology. Hence, the InfiniteFocusG5 with automation options is the optimal solution, enabling rapid and reliable measurement of various component shapes, types, and sizes, often made from different materials. The range of measurable surfaces and materials is nearly unlimited. Moreover, users measure micro and precision components with a single multifunctional sensor in high resolution, traceability, and high repeatability.
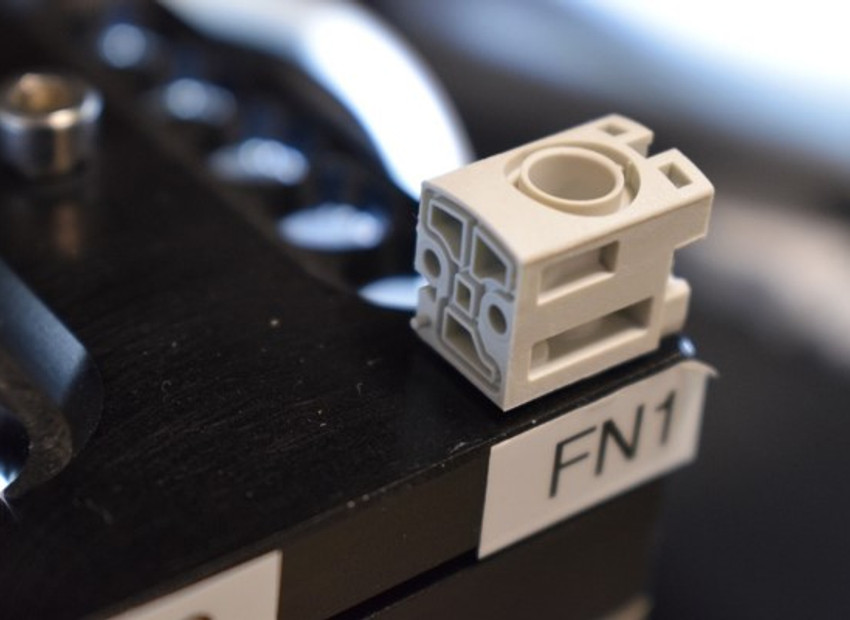
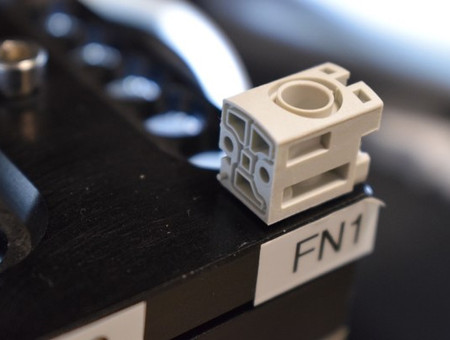
For example, when measuring a magnetic plate used in Festo's pneumatic and electric control for drive technology, the required results need to be available quickly, easily, and accurately. In the case of InfiniteFocus, up to 500 million measurement points ensure detailed measurement with tolerances in the range of micrometers and sub-micrometers at a significant working distance. The high density of measurement points from Focus Variation also enables consistently high lateral and vertical resolution over large measuring volumes.
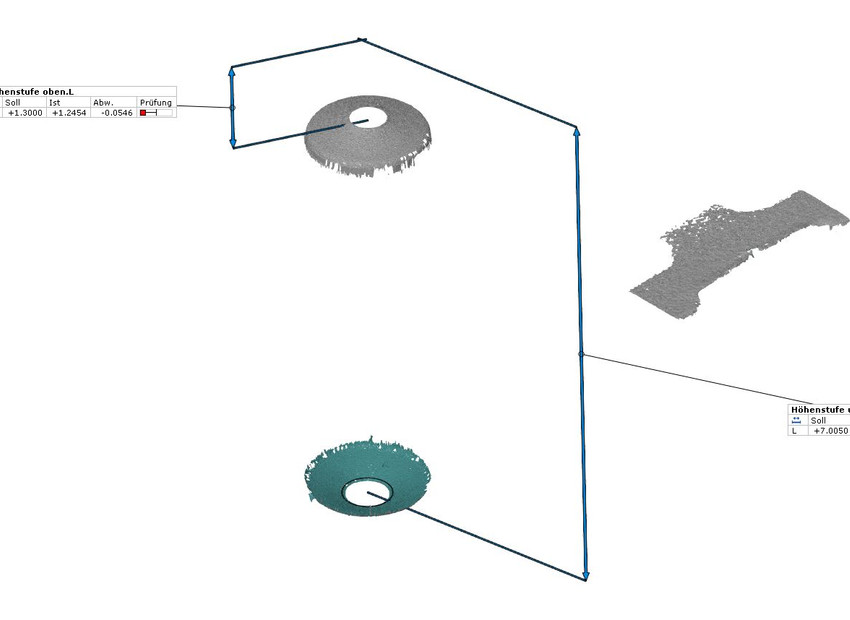
For Horst Lang, accurate representation and depiction of measured parts are indispensable. Result traceability forms the basis for using such systems. Festo has to fulfill specific requirements to achieve automated measurement. For instance, a measuring system must measure various geometric dimensions such as form accuracy, roundness, and coordinates of holes, in addition to surface structures. The challenge lies in accuracies and sometimes geometric shapes like radii and edge profiles. "InfiniteFocus achieves optimal measurement results here as well," Horst Lang expressed.
Automation aligned with process optimization
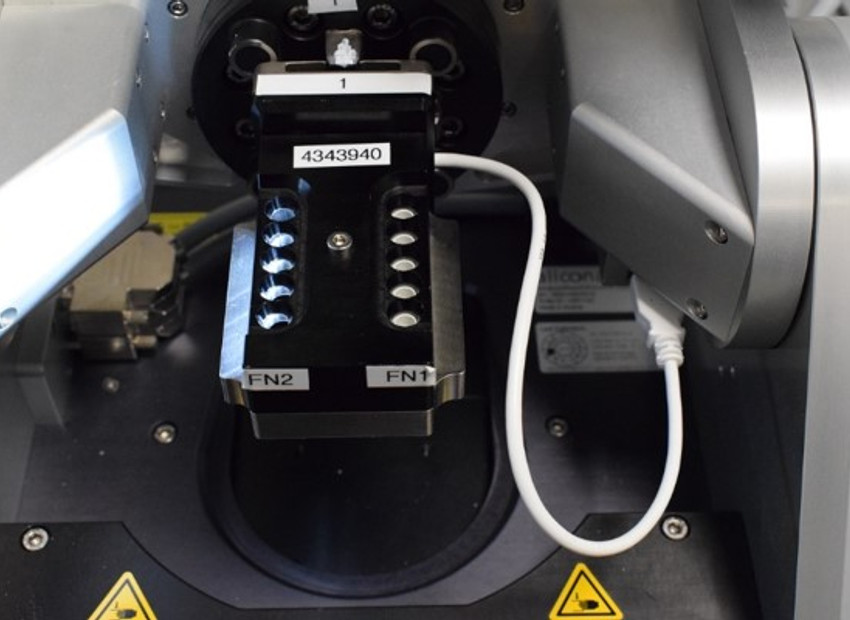
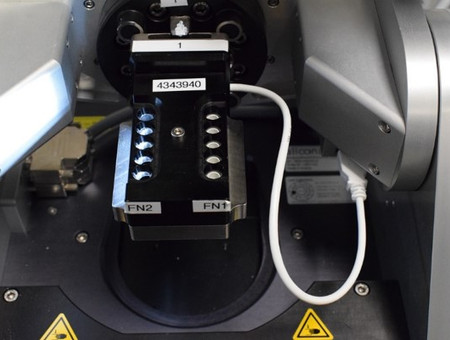
To meet Festo's requirements, the InfiniteFocusG5 measurement system was equipped with a rotation and tilting unit (AdvancedReal3D RotationUnit). A custom sample holder developed by Bruker Alicona with additional lighting allows the measurement of 10 components in a single operation, eliminating the time-consuming process of clamping individual components. "It was also important for us that different components with varying geometries, shapes, materials, and sizes could be measured," Lang noted. Additionally, various parameters are verified with a single system. Moreover, this sample holder can secure parts in a way that ensures all measurements are reproducible. In addition to measuring magnetic plates, the system is used for other applications such as swivel joints, high-precision plastic injection-molded components, or housings where a variety of measurement tasks like different height measurements and roughness measurements on valve seats are solved using the available InfiniteFocus with AdvancedReal3D RotationUnit.
Horst Lang is particularly pleased with the fully automated and user-independent measurement executed with the "AutomationManager" software. "Our employees receive about 1 day of training on the system with the software and can conduct measurements independently thereafter."
To initiate measurement, a barcode is scanned. Based on the scanned barcode, the system automatically selects the correct measurement program and pre-fills keywords. The AutomationManager combines data acquisition and automatic evaluation.
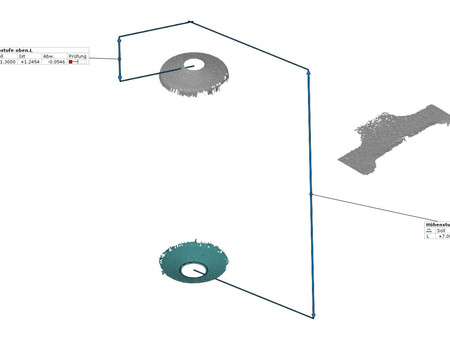
On the results page, data sets and parameters are visible. Red and green indicators indicate whether the result and parameters are within or outside tolerances. The results are exported in selected formats like .csv or .pdf. In Festo's case, results are also exported to Q-DAS. This is an important interface as it transmits data, performs statistical evaluations, and verifies process capability. These visualizations and their integration with other systems are crucial for Festo, and the Bruker Alicona complete system has successfully implemented this.
Norms and standards as the foundation
Standardization plays a vital role at Festo. Festo must adhere to reproducible and traceable standards - anything less is not feasible. According to the VDA-5 standard, acceptance measurements must be conducted at Festo. This means that multiple components must be measured by different operators, resulting in a certain outcome. Fortunately, Bruker Alicona achieved successful acceptance here as well.
Using the measurement system directly in production
In addition to in-process and automated SPC (Statistical Process Control) measurement in the production-related measuring room, Festo also offers the option of placing the measuring system directly in production (in-situ/off-line, ex-situ). Due to its robust technology and insensitivity to vibrations and light influences, ease of use through a single-button solution, and machine-to-machine communication (Industry 4.0) for adaptive production planning, the Bruker Alicona InfiniteFocusG5 measurement system enables fast and highly accurate measurements directly in production. "With Bruker Alicona, Festo is laying the foundation for modern, integrated manufacturing metrology," Horst Lang concluded.



dieSonne-154-380x253.jpg)

