What is Vertical Focus Probing?
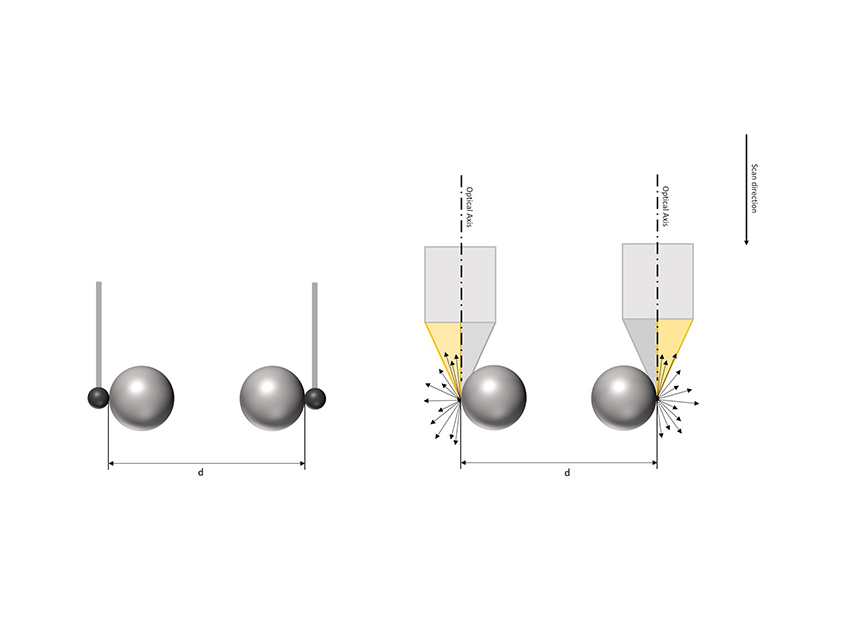
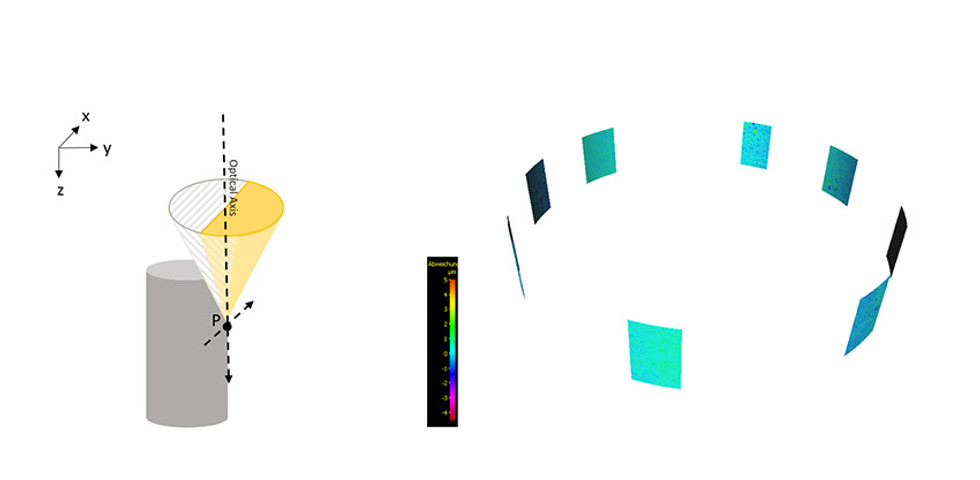
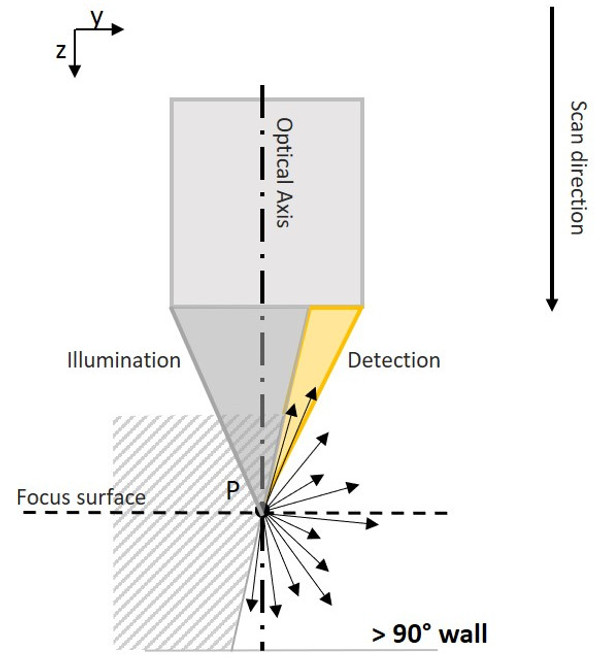
Vertical Focus Probing (VFP) is based on the use of a partial light cone. Individual light rays that are diffusely reflected from vertical surfaces get captured by the lens. Flanks with more than 90° can be measured traceably, repeatably and with high resolution. Vertical flanks measured in this way can be used, e.g. for fitting of a workpiece coordinate system.
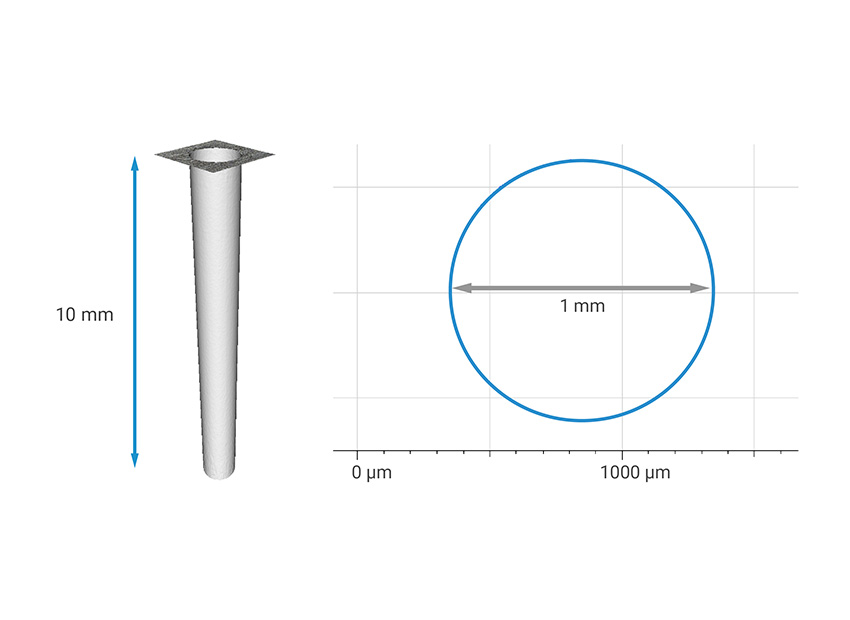
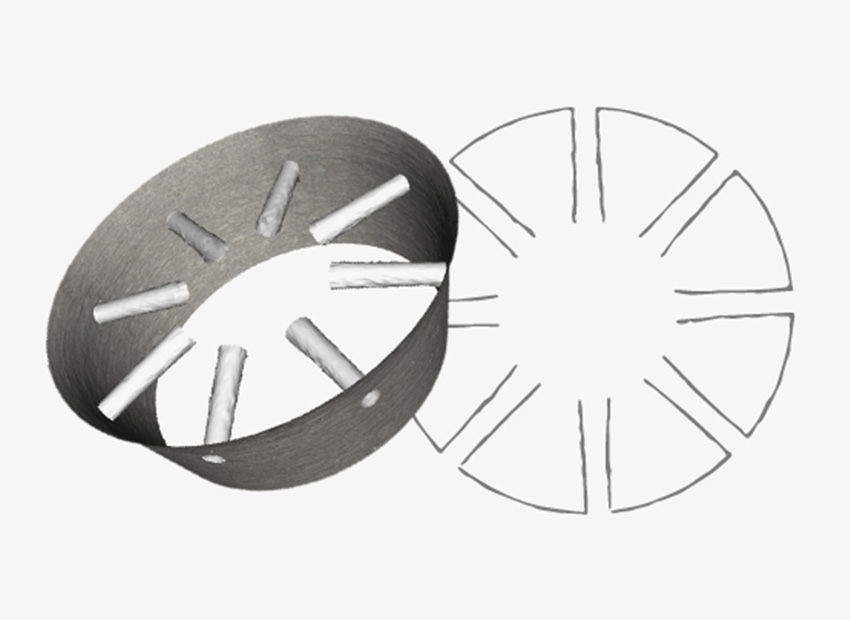
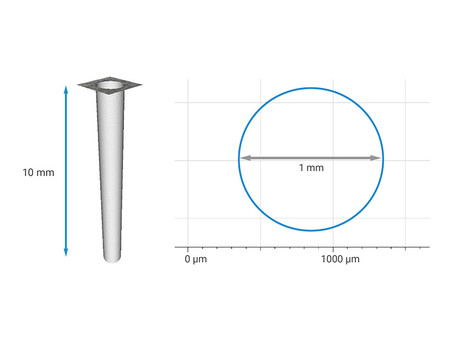
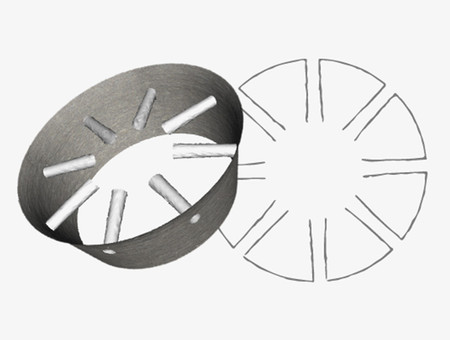
Up to now, geometries such as bore holes of injection valves in the automotive industry were difficult to measure optically. The lateral probing of components with vertical surfaces was limited to tactile measuring systems, CT solutions or complex customized solutions. This changes with Vertical Focus Probing: Based on areal measurements, the optical probing of components over the entire surface is possible.

Surface measurement of slopes steeper than 90°
Vertical Focus Probing is based on the use of partial light. In addition to coaxial light, light from different directions is used. As a result, individual light rays diffusely reflected from vertical surfaces are captured again by the objective, enabling the traceable and repeatable measurement of flanks with more than 90° in a high-resolution.
How high the proportion of reflected light rays is, depends on the geometry and the roughness of the surface to be measured as well as on the light source used. The objective also plays a role, as, depending on its diameter, an objective can also capture reflected light from surfaces that show flanks steeper than 90°. This is where the numerical aperture (AN) comes into play, which is defined by the objective diameter and the working distance. It influences how much the measurable slope of a surface can still exceed the 90° mark.
Difference between Vertical Focus Probing and Focus-Variation
Vertical Focus Probing, like Focus-Variation, is based on the vertical scan of the surface to be measured. The focus information curve is evaluated for each position. The difference to Focus-Variation is that in Vertical Focus Probing not only one, but several Z-values are calculated for each measuring point (XY). These Z-values represent the vertical surface.
What´s so great about Vertical Focus Probing
Fields of use
Vertical Focus Probing can be used for a wide range of applications in dimensional metrology, respectively in all areas of the manufacturing industry and production. Among others, the tooling industry, precision manufacturing, the automotive industry as well as the aerospace sector benefit from new measurement possibilities whenever it comes to components with vertical surfaces. Features such as holes, bores, reference surfaces, contours, lengths etc. can thus be optically measured with high accuracy, in high resolution and short measuring times.
