Precise Cooling Hole Inspection
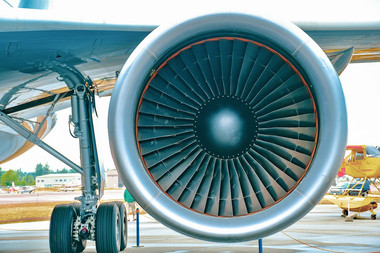
Manufacturing precise cooling holes on turbine blades is a critical challenge: Their precise position, orientation, shape, and distribution mean the difference between smooth flight and potential turbine failure. Any deviation can affect performance, efficiency and safety. Quality assurance requires comprehensive analysis of hundreds of cooling holes to verify angle, size and shape to ensure they match the CAD data - even when hole shapes vary.
The solution:
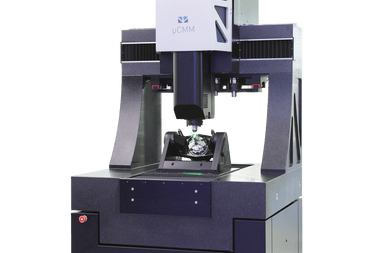
Bruker Alicona's µCMM optical coordinate measuring machine with the AdvancedReal3DUnit allows the inspection of dimension, position, shape and roughness with only one optical sensor.
The integrated MetMaX metrology software and the specially designed Cooling Hole Package, ensure accurate inspection of key parameters such as:
- Hole position in respect to datum
- Geometry inspection for various hole types, including:
- Diffusor holes
- Round holes
- Conical holes
- Long holes
Download our detailed measurement report to see how our optical metrology ensures precision and reliability in cooling hole inspection.

3D data of cooling holes


dieSonne-web-(21)-380x253.jpg)

dieSonne-(3)-380x253.jpg)